
TP-Link RE650 Review and Setting-A PowerFul, Two-Band Wi-Fi Signal
I’ve already had a lot of different Wi-Fi signal boosters on my review, including those from TP-Link. But TP-Link RE650 certainly surprised me. First of all by its size and weight. Perhaps a good amplifier should be a lot, let’s check 🙂 TP-Link RE650 is a powerful, dual-band Wi-Fi signal booster with support for MU-MIMO technology, external antennas, and a gigabit Ethernet port. Plus, it looks very interesting, is very well built, and is very easy to connect and configure.
A bit of technical specifications and let’s get straight to the review of the appearance of the repeater itself. To begin with, the TP-Link RE650 can amplify the Wi-Fi network of absolutely any Wi-Fi router. It doesn’t have to be a TP-Link router (I’m often asked such questions). This is a dual-band amplifier. It amplifies the network in the 2.4GHz and 5GHz bands. The wireless speed is up to 800 Mbps in the 2.4 GHz band and up to 1733 Mbps in the 5 GHz band.
There is support for 4×4 MU-MIMO (simultaneous data transmission to multiple devices). To be honest, this is the first time I’ve seen MU-MIMO support in a Wi-Fi signal booster. There is also support for Beamforming (directional broadcasting of Wi-Fi signal). TP-Link RE650 amplifier is equipped with one gigabit (up to 1000 Mbps) Ethernet port, which is very cool. Now if you connect the same Smart TV set to the amplifier via cable, the connection speed can be higher than 100 Mbps. The gigabit port will also come in handy when using this amplifier in access point mode (when RE650 receives internet via cable and distributes it via wi-fi). This mode of operation is present in the settings.
Some more information:
- The TP-Link RE650 runs on a dual-core processor with a frequency of 880 MHz.
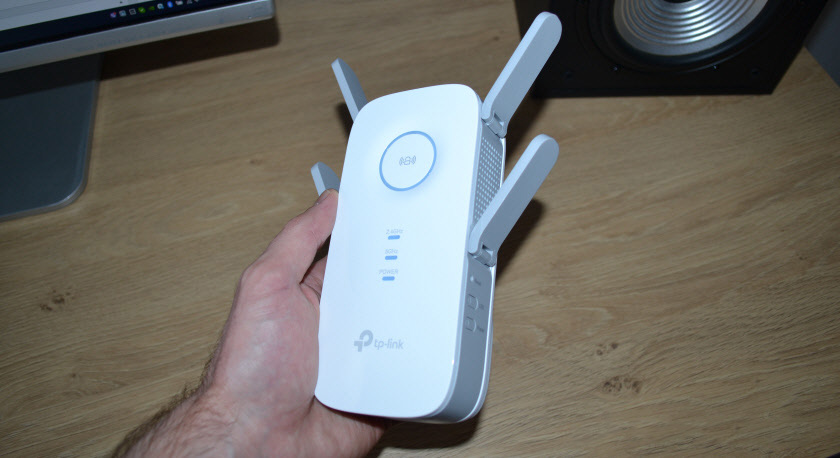
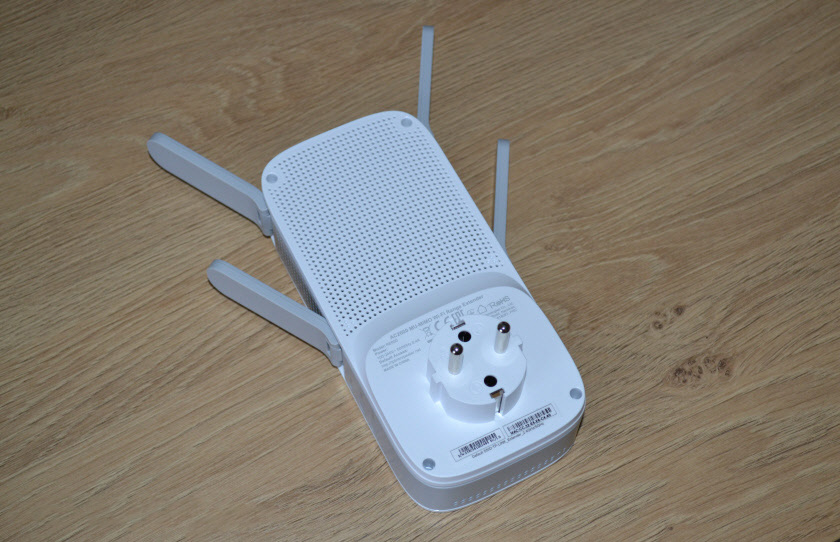
- It has 4 external Wi-Fi antennas for better signal amplification of Wi-Fi network.
- It supports configuration and control via TP-Link Tether app.
- There is an indicator on the body (for each band) that shows the strength of the Wi-Fi network signal from the router. A very useful feature that helps you choose the optimal location of the amplifier.
The specifications are certainly impressive. You can always read more about the technical specifications of TP-Link RE650 on the TP-Link website or in any online store.
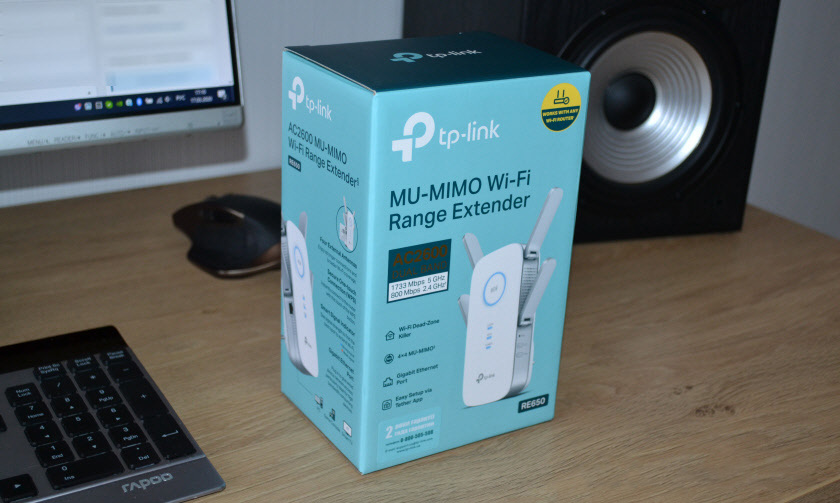
The packaging, in which TP-Link RE650 is delivered, is practically no different from the packaging of other TP-Link products.
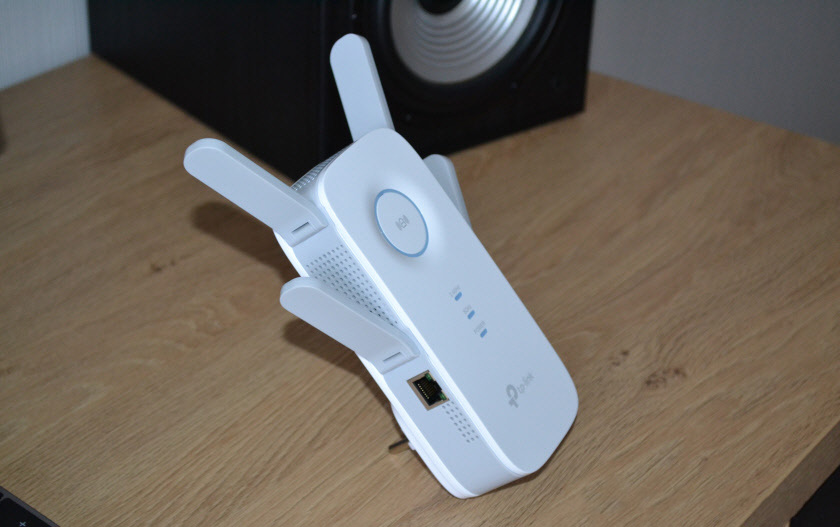
The first thing that pleasantly surprises you when you take the amplifier in your hands is the quality of materials and assembly. The device is very well assembled. The quality of the plastic is excellent. White glossy plastic is used on the front panel and white matte plastic on the back panel. The antennas and the main part of the case is made of gray matte plastic.
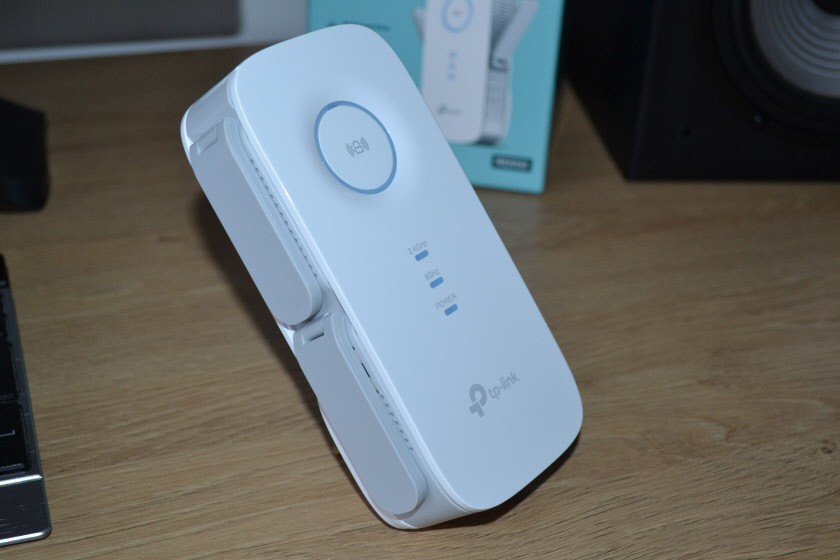
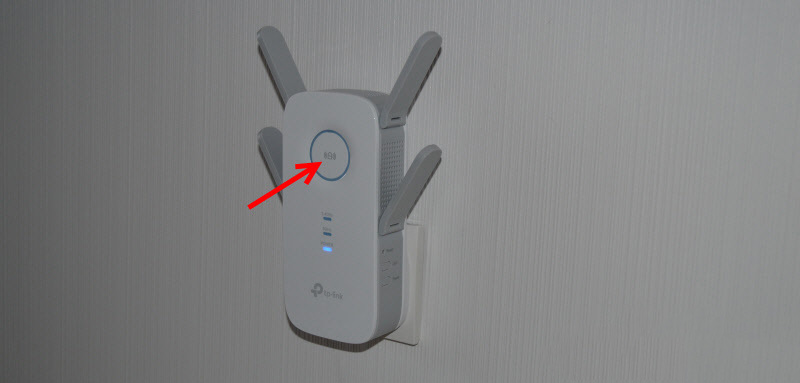
On the front there is a big WPS button with an indicator for connecting the amplifier with Wi-Fi router, network indicator in the range of 2.4 GHz and 5 GHz, and Power indicator. There is also a company logo.
On the left side of the case there is a gigabit Ethernet port. To see it, you need to unfold the antennas.
On the left side, under the lower antenna there is a Reset button (to reset TP-Link RE650 settings), LED button (to turn off the indicators) and Power button (to turn on/off the amplifier power supply).
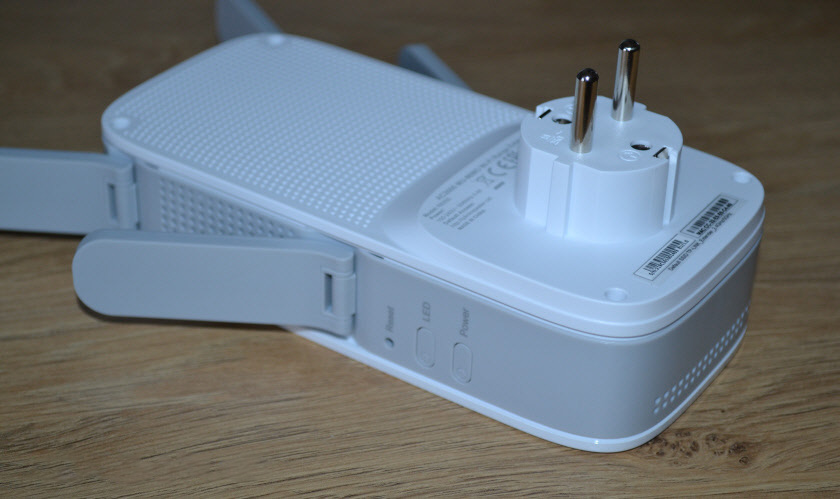
On the back side there are a lot of holes for cooling the device, some technical information (address for entering settings, MAC-address, serial number) and the usual plug for plugging the amplifier into a socket.
Everything looks super! Let’s plug in the TP-Link RE650, set it up and test it in operation.
Setting up the TP-Link RE650
We need to connect our TP-Link RE650 to the router’s Wi-Fi network. There are three ways to do this:
- Simple and quick setup using the WPS button on the router and amplifier.
- Setting up the TP-Link RE650 via the web interface (a page in your browser).
- Setup via the TP-Link Tether app from a mobile device.
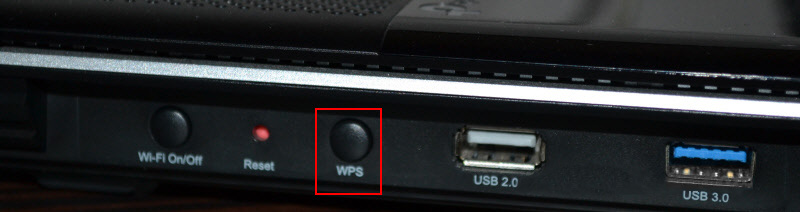
The first thing I recommend is to try to connect the amplifier to the router using WPS. The router should have this feature enabled. It is always enabled by default, but sometimes it is disabled. In that case, you need to check the WPS settings on the router, or use another method.
- Plug the Wi-Fi signal booster into an outlet and wait until the Power LED stops blinking and is blue.
- Press the WPS button on the router (usually one of the indicators starts blinking).
- Press the WPS button on the TP-Link RE650.
- We wait for about two minutes.
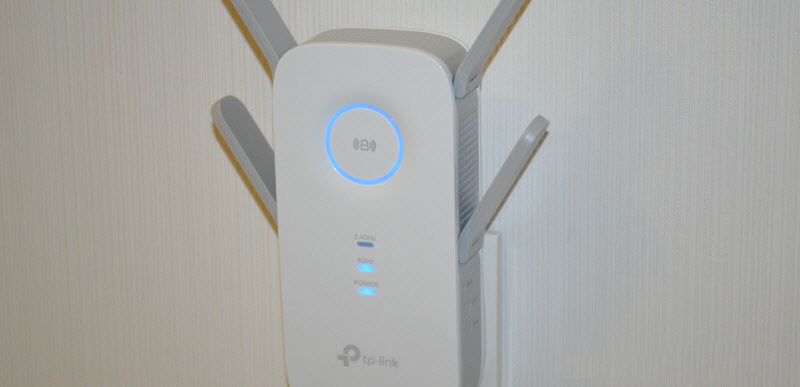
- When the connection is complete, the indicator around the WPS button should be blue. The indicator of the network to which the repeater is connected should also light up. I have a dual-band router. TP-Link RE650 is connected to the network in the 5 GHz band. This indicator is lit in the photo below. When it is lit blue, it means the signal from the router is good. If it is red, the reception is bad and you need to move the repeater closer to the router.
 In my case, the repeater is connected to the router via Wi-Fi at 5 GHz (this is correct, because the speed in this range is much higher) and it duplicates Wi-Fi network in the 5 GHz range (one network is displayed on the devices) and also distributes Wi-Fi network in the 2.4 GHz range (by adding _2.4G to the name ).
If, for example, you don’t need the 2.4GHz network, you can disable it or rename it in the amplifier settings (in the web interface).
Configuring the TP-Link RE650 Wi-Fi signal amplifier via the web-interface
If you can’t configure it via WPS, or something goes wrong, you can go to the TP-Link RE650 settings and set the necessary parameters (connect to the home network, for example). You can enter from a PC, laptop, phone, tablet, etc. I recommend using the TP-Link Tether app to configure it from mobile devices.
Next step by step:
- Connect to the TP-Link RE650 with a network cable, or via wi-fi. The factory name of the Wi-Fi network (Default SSID) is indicated on the case of the amplifier itself. The network is open, without a password.

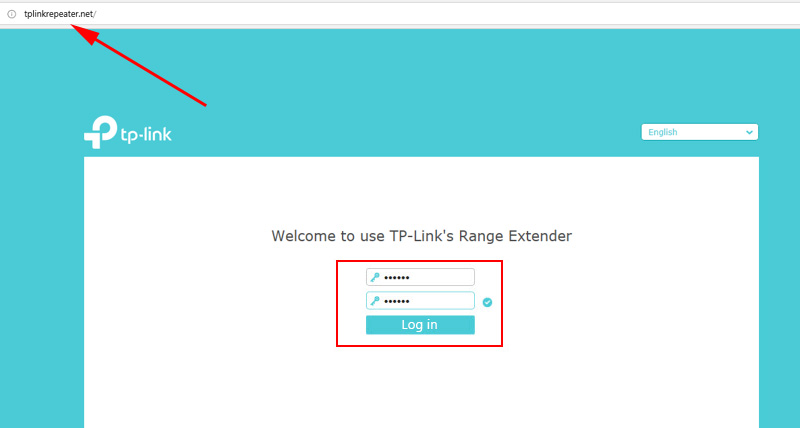
- Launch any browser and in the address bar go to http://tplinkrepeater.net (it is also indicated on the device case). More details in the article: tplinkrepeater.net and tplinkextender.net – password admin, login to the repeater settings.
Immediately set the admin password (you need to enter it twice). It will protect the settings. Write it down so that you don’t forget it.
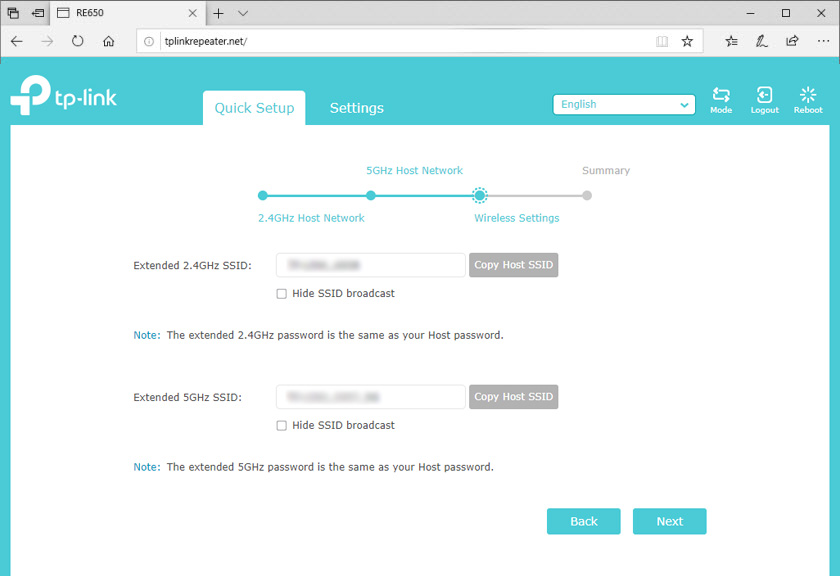
- A quick, step-by-step configuration of the Wi-Fi signal booster will begin.
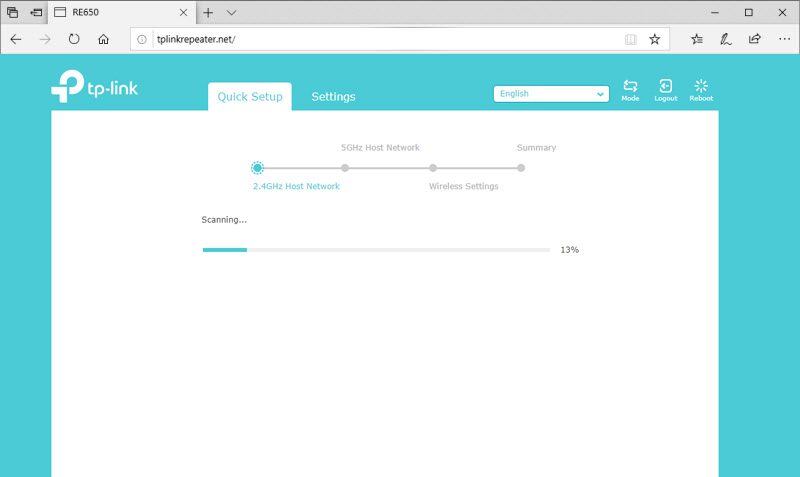 Scanning networks in the 2.4 GHz, 5 GHz range. You just need to select your network, specify the correct password, and TP-Link RE650 will start amplifying it immediately after saving the settings.
If you have a dual-band router, then connect the amplifier to each network (2.4 GHz + 5 GHz). Once configured, it will automatically use the 5 GHz network as the primary network (keeping the connection to the router on that frequency). But will amplify both networks, in both bands.
If necessary, you can disable the network in a certain band in the settings.
A few more useful tips:
- With the LED button on the amplifier’s case, you can turn off the indicators. So that they don’t get in the way at night.
- Try to place the signal booster about halfway between the router and a room with a poor Wi-Fi network signal (or no signal at all). Check the indicators on the amplifier. They should be lit blue.
- If you want to connect the Internet to TP-Link RE650 with a network cable, then switch the amplifier to the access point mode (by clicking the “Mode” button in the web-interface).
- If something went wrong during the setup process, you can’t enter the amplifier settings, or something else – do a Reset and start the setup again.
If you have a regular, dual-band router (without Mesh support), the TP-Link RE650 is a great solution for extending your Wi-Fi network signal. A powerful and fast amplifier that is very easy to install and configure. With external antennas and Beamforming technology, it effectively boosts the signal. And with support for 5GHz band (802.11ac standard) and MU-MIMO technology, you can enjoy fast data transfer over your wireless network.
 TP-Link TL-WR743ND-Review, Configuration, Firmware
  Review TP-Link Archer Mr400-Two-Band Wi-Fi Router with A Built-in LTE Modem
  Review of the Router TP-Link Archer C5 V4. Gigabit, PowerFul, Long -Range
  Tplinkwifi.net does not open. Does not come in and fails to account the site