
Connection and Configuration of the Router TP-Link Archer C5400X
For those who have already read my review of TP-Link Archer C5400X router and managed to buy this gaming monster, I decided to prepare instructions on how to configure it. You will be able to configure this router without any problems, even if you have never encountered such devices. TP-Link Archer C5400X still has the same simple and clear control panel. And if you have any problems in the process of setting up, you can look through the configuration guide (included in the package) or my article. And also ask a question in the comments.
If you don’t have a computer (which is unlikely since you bought a gaming router), you can configure it from your mobile device. To do this, install the TP-Link Tether app from the Android or iOS app store. But I somehow find it more convenient to configure it via computer. I also recommend you to use a computer. And install the application later, to control the router.
Connect all antennas to TP-Link Archer C5400X. Connect and plug in the power supply and plug it into a power outlet. If the LED on top of the router doesn’t light up, then check if the power is on with the button on the back of the router.
Next, plug the cable from your Internet provider ( or modem ) into the Internet port ( it’s blue ). And using the network cable that comes with the router, connect it to your computer. On the router, plug the cable into one of the LAN ports. On the computer – into the network card.

Sometimes it is not possible to connect the router to the computer with a network cable. Most often when configuring the router from a laptop (without LAN-port), smartphone or tablet. When you turn on the Archer C5400X, it will immediately give out wi-fi. The factory name (SSID) of all three networks and password (Password/PIN) can be viewed from the bottom of the router.
After connecting to the router’s Wi-Fi network, you will be able to go to its web interface to configure it. Although the connection may be without internet access.
How to perform the configuration?
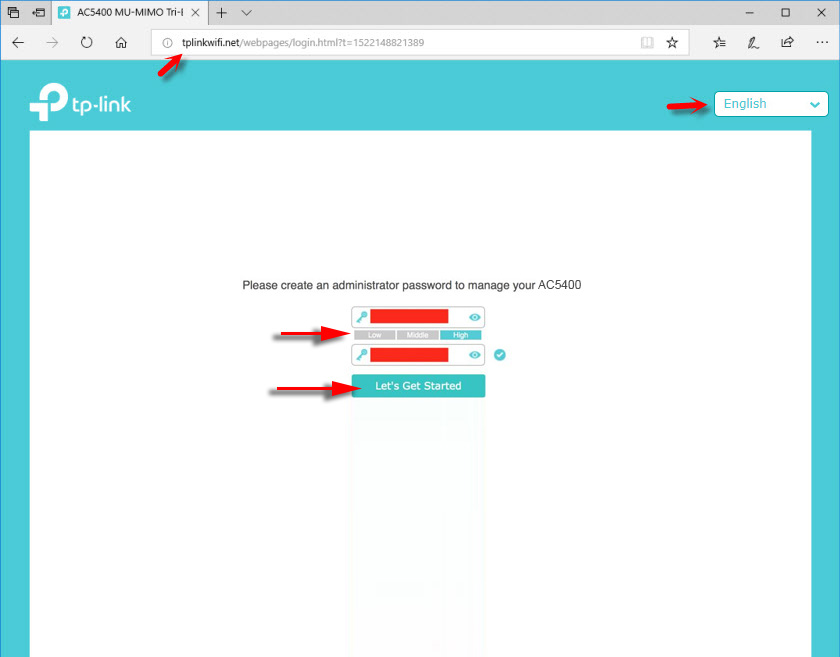
Open any browser (preferably a standard one, or one with a minimum of different add-ons) and go to http://tplinkwi-fi.net (more details in this article). You can also go to the settings at http://192.168.0.1. Read more here. In these articles (at the links) I also showed you what to do if the router settings do not open.
In the first window you should think up and set a password that will protect the settings of our TP-Link Archer C5400X. There you can also change the language at once.
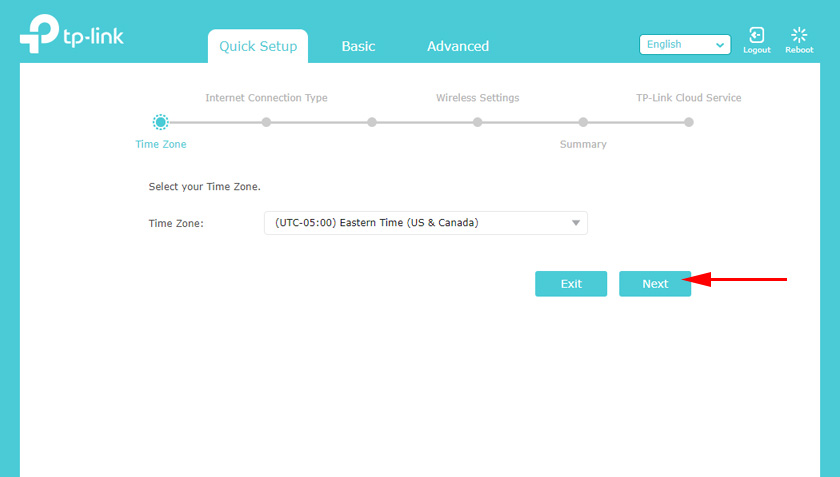
Set the time zone.
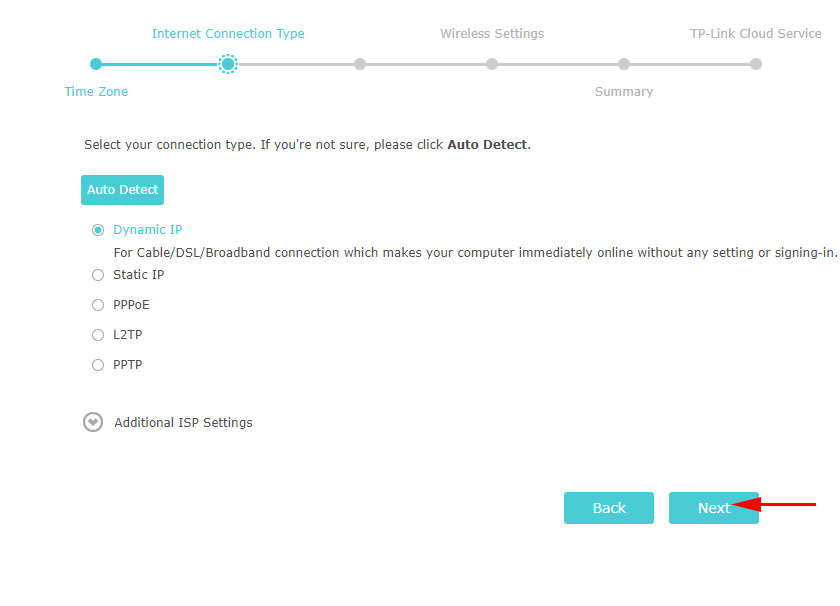
The most important step! Setting up the connection to the Internet. If you set these settings incorrectly, the router will not be able to connect to the Internet and distribute it to other devices.
My connection type is Dynamic IP. But that doesn’t mean you have the same. If you don’t know, you need to look at the documents your ISP gave you, look at the instructions on the ISP’s website, or call support. If you have PPPoE, L2TP or PPTP, then on the next page you need to specify your username and password(for L2TP and PPTP you also need to specify theserver address). All these parameters are provided by your ISP.
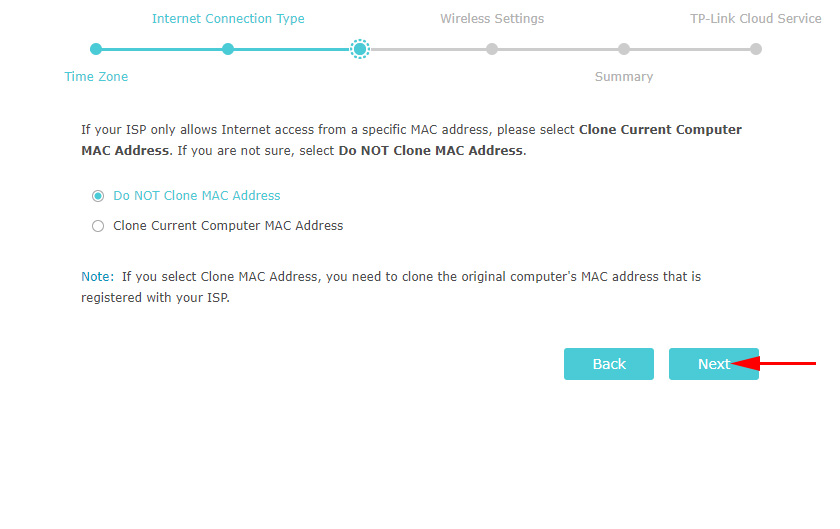
If you also have Dynamic IP, it is good to check with your provider if he does not bind by MAC-address. If it does, you can clone the MAC from the computer to which the Internet is bound. Or you can specify the MAC-address of the router from your provider (it is indicated on the sticker at the bottom).
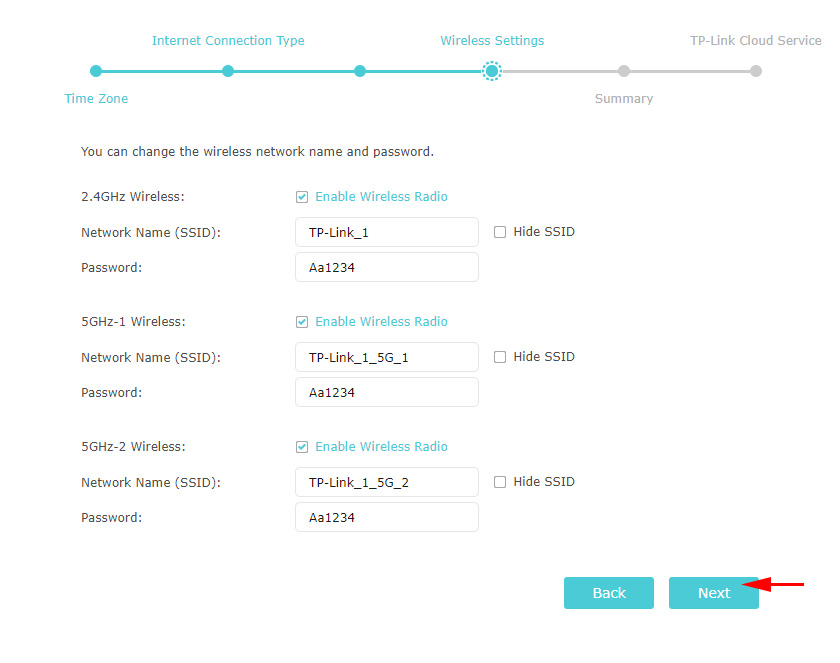
Wi-Fi network configuration. Everything is simple here. Change the name of each Wi-Fi network (one network in the 2.4 GHz range and two networks in the 5 GHz range). Set a password for the Wi-Fi network. You can set the same password for all networks. You can disable a particular network (by unchecking the box next to “Enable wireless broadcasting”), if necessary.
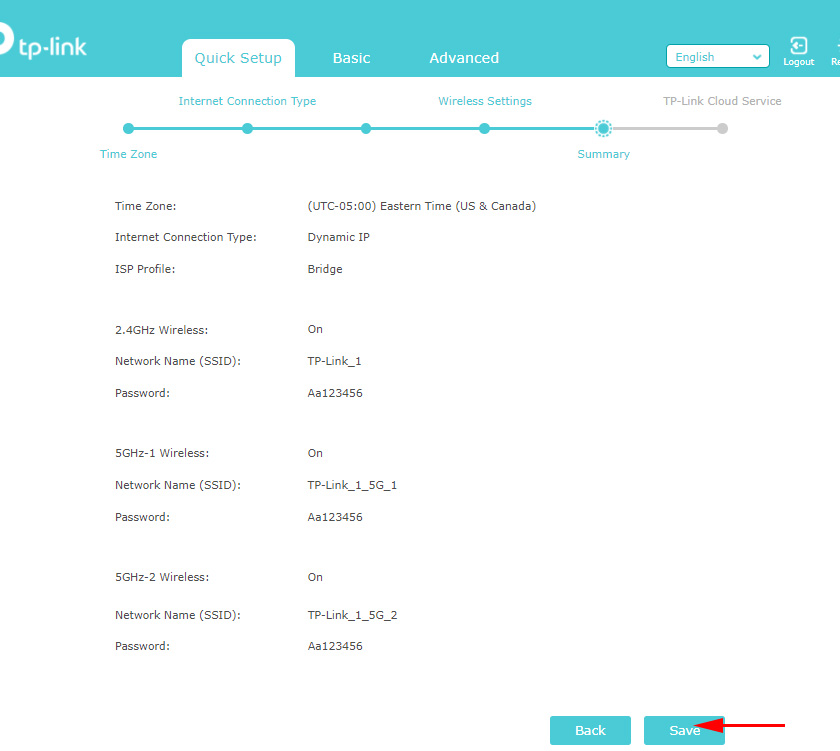
Save the settings.
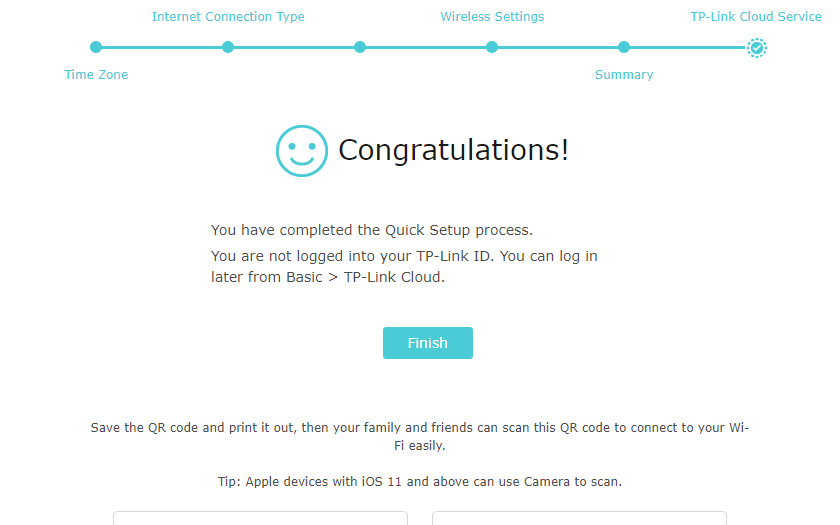
The router should inform you that the network configuration was successful. You will be prompted to log in under your TP-Link ID. If you don’t want to do that, you can skip this step.
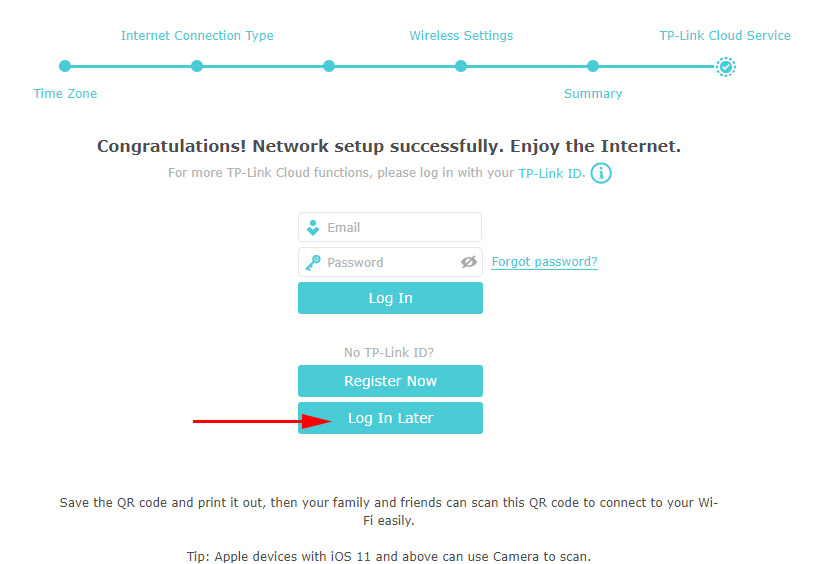
Congratulations 🙂
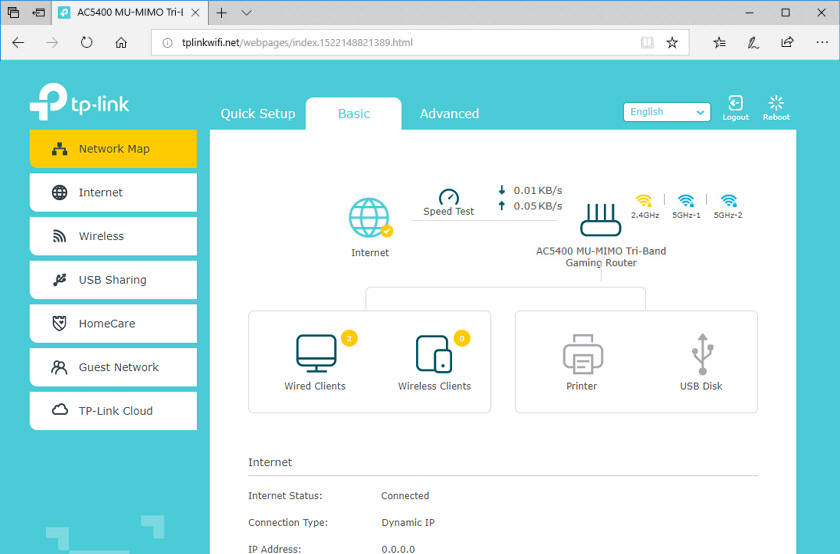
After clicking on the “Finish” button, the “Network Layout” will open. It shows the network status, information about connected clients, connected USB devices, etc. If the status is “Internet Status: Connected”, then everything is fine. If there is no connection, then on the left, on the “Internet” tab you can check the parameters of connection to the Internet provider.
We have done the basic settings. Our router is connected to the Internet and protected. Save the passwords (from settings and wi-fi) so that you don’t forget them. You can connect your devices to TP-Link Archer C5400X and enjoy fast and stable connection.
Configuring additional features
Since I have already written a lot of separate instructions on how to configure various functions on TP-Link routers, I’ll just leave links to those instructions. So as not to repeat myself.
- IPTV. You can set the parameters for IPTV operation via TP-Link Archer C5400X on the “Advanced Settings” tab, in the “Network” – “IPTV” section. Read more in the article IPTV setup on TP-Link routers.
- Network sharing to the USB drive, which is connected to the Archer C5400X. The settings there are very simple. Basically, everything starts working right after connecting a flash drive or an external hard disk.
- Setting up a guest Wi-Fi network on the Tp-Link router
- If you want to change the password of the Wi-Fi network, then this article will come in handy.
It’s kind of hard to remember and find all the instructions. If you do not know how to configure something – ask in the comments. Also do not forget to leave your reviews about TP-Link Archer C5400X. Write how it behaves in online games and other complex tasks.
 Roter Firmware TP-Link TL-WR1043ND and TP-Link TL-WR1045ND
  Review TP-Link AC750 RE210. Two-Band Wi-Fi Amplifier
  TP-Link TL-WN781ND-Setting and Installing the Driver
 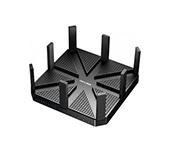 TP-Link Archer C5400-Three-Band and Very PowerFul Wi-Fi Router