
Tenda F9 – Review and Setting Up Router
I’ve noticed that when choosing a router, almost everyone is interested in the radius of coverage of the Wi-Fi network, so that the walls are well “penetrated”, and the speed of wi-fi connection, even when connecting a large number of devices. All right, from the router in the first place requires stable operation, good speed and maximum radius of coverage. That the wireless network was all over the house, or office. And not to be very expensive 🙂 🙂
Tenda F9 fits all these needs well. Among the huge number of routers that are now on the market, Tenda F9 stands out not only for its design. The cost of this model is about 25 dollars. And this is a very good price for a router with such characteristics and a simple web interface.
I do not like to list all the characteristics, you can see them on the official website of Tenda, or in some online store. Let’s consider only the features of this model:
- The maximum speed of the Wi-Fi network is 600 Mbps. This is in the 2.4 GHz band.
- 4 non-removable antennas, 6dB power. Wi-Fi network coverage is really good. They are 20% more powerful, compared to the 5dB antennas. At least that’s what the manufacturer reports.
- There is Beamforming technology. This is when the router doesn’t just “spray” the signal around itself, but directs it towards the connected devices.
- You can control the router through the Tenda wi-fi app. It can be downloaded for iOS and Android. Look for it on the App Store and Google Play.
- Simple control panel. This applies to all devices from Tenda.
Let’s now do a little more review, for those who are considering this model for purchase, and proceed to the configuration of the Tenda F9 – for those who have already purchased.
Tenda F9 router review
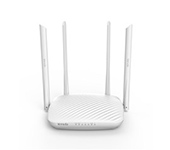
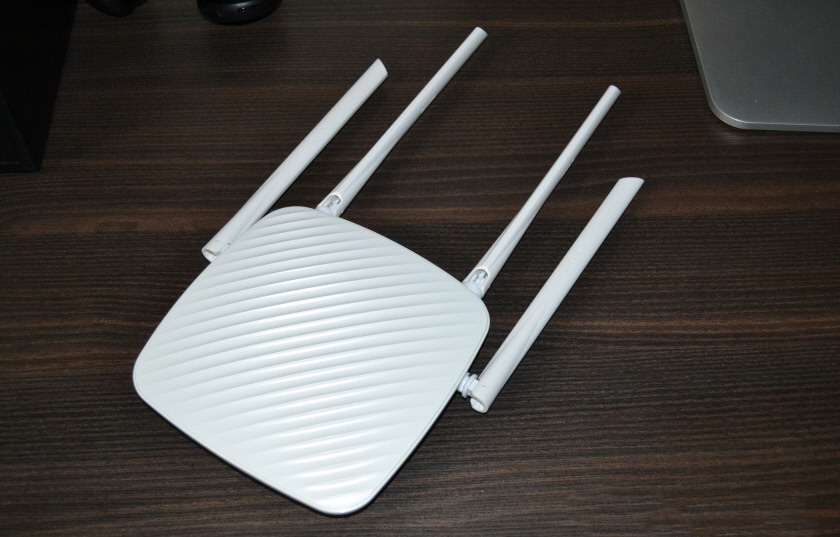
The entire router is made of white plastic. Even the antennas. The main, front panel is interestingly designed. There the plastic is embossed, with lines. See the photo:
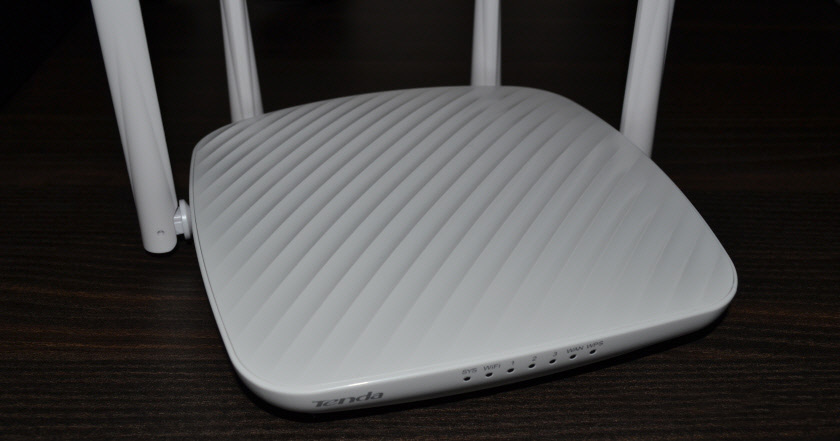
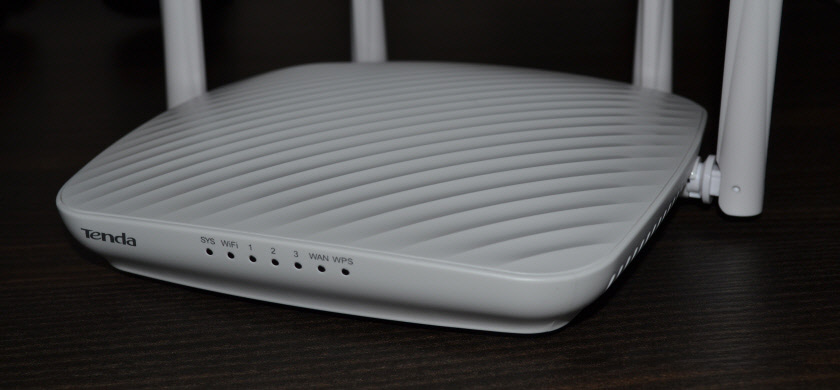
The front edge has indicators and the Tenda logo.
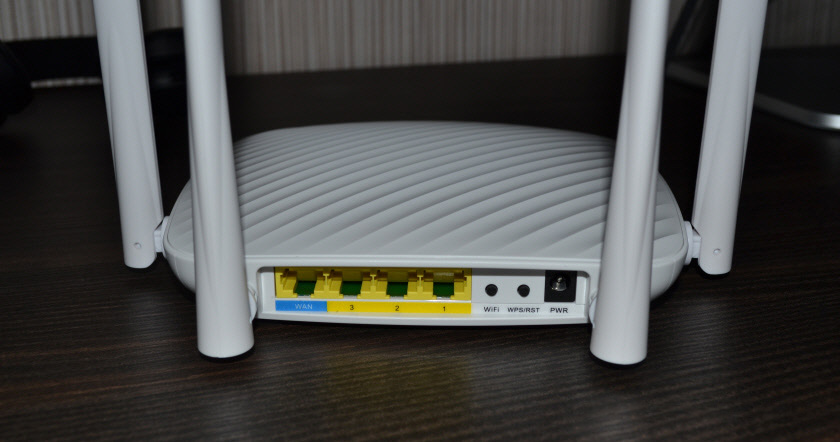
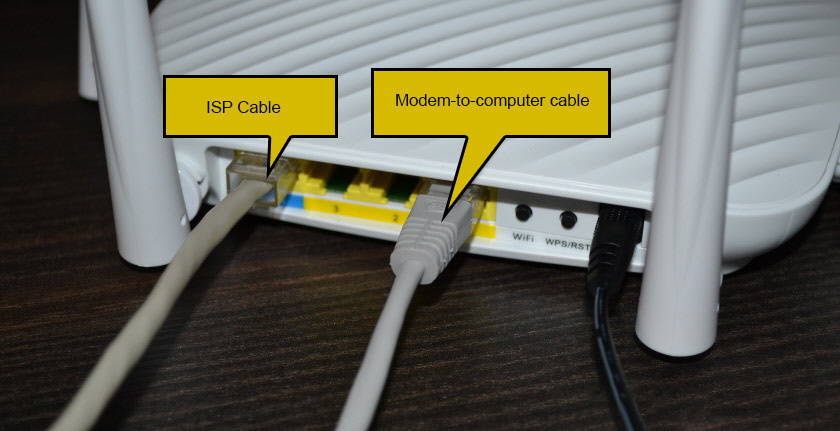
On the sides and bottom are holes for ventilation. All buttons and ports are on the back of the router. Besides 3 LAN and 1 WAN port, there is a button to disable the Wi-Fi network and a WPS/RST button. To activate WPS and reset the router to factory settings.
The antennas are non-removable. But they fold up and the router can be hung on the wall.
The only not very pleasant moment is something rattling inside the antennas. When you touch them. But it’s such a thing, maybe you won’t even notice it. Or maybe they will fix it in new batches.
What kind of router it is and how it looks like, we have figured it out. It’s time to move on to configuration.
Configuring the Tenda F9
I think that Tenda has one of the easiest web interfaces out there, and the process of quickly setting up the router is just perfect. When we first connect the router and go into its settings. Also included is a very detailed guide with screenshots.
Connect power to the router. Then, in the WAN port connect the Internet. If you have a computer or laptop, it’s better to connect to the router via cable to configure it.
Or connect to an unsecured Wi-Fi network, which will be available after turning on the Tenda F9. The name of this network (SSID) is listed at the bottom of the router itself.
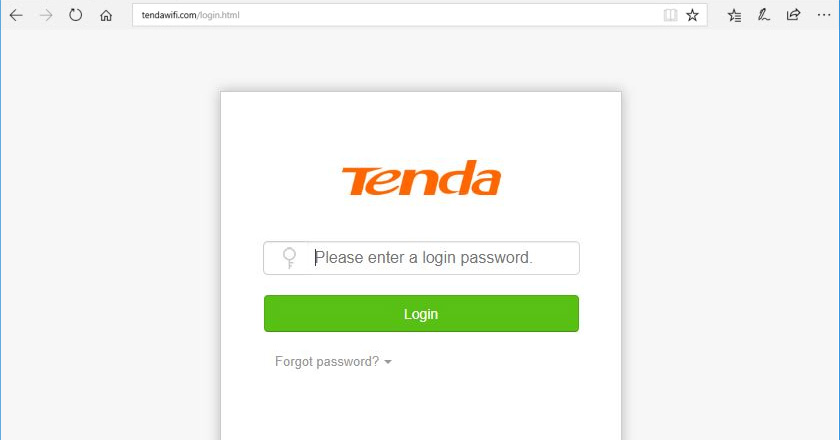
When your device is connected (via cable or wi-fi) to the router, open any browser and go to the settings. It is enough to go to http://tendawi-fi.com, or 192.168.0.1.
If this router has not been configured yet, a window with a quick setup wizard should appear. Like mine in the screenshot below. If not, you can do a factory reset and enter the settings again. Or set all the settings in the appropriate sections of the web interface.
To reset the Tenda F9, you need to press the “RST” button for 10-15 seconds.
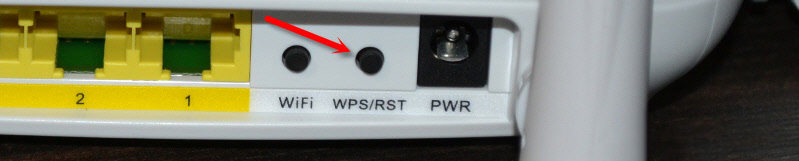
Look at the indicators. By them you will understand when the router has reset the settings and you can release the button.
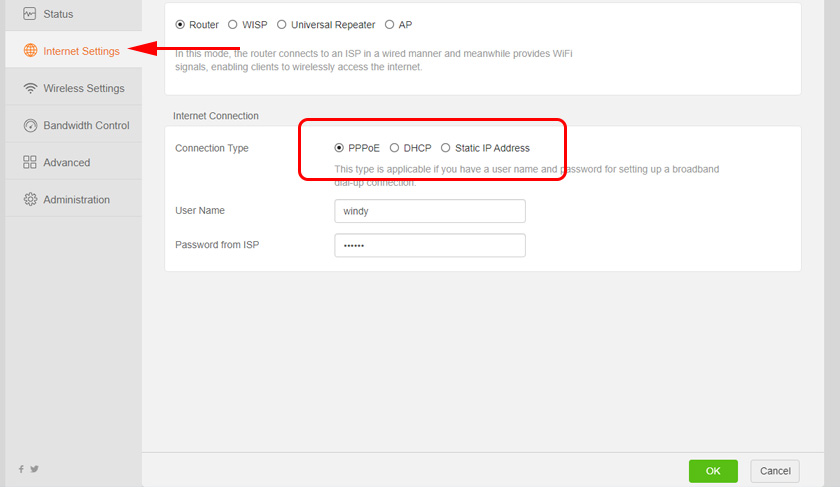
The main settings are: type of Internet connection (and connection data, if necessary), Wi-Fi network name and password.
For example, my connection type is Dynamic IP. If you have, for example, PPPoE, you need to specify the user name and password.
There you should also change the name of the Wi-Fi network and set a password to protect this network.
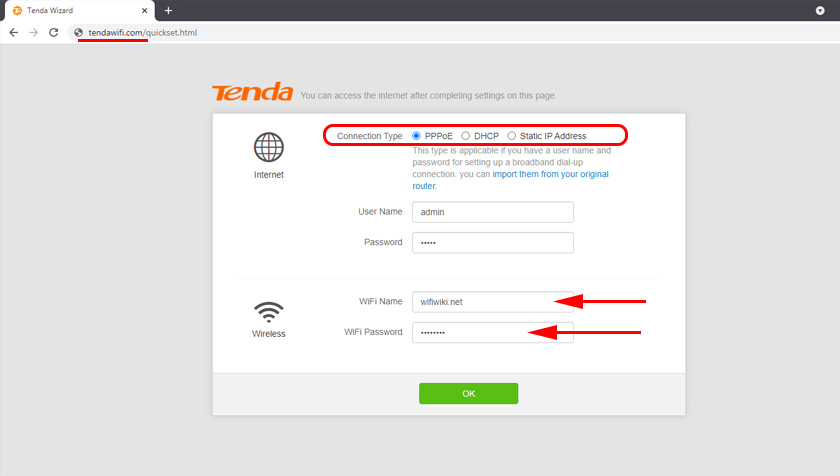
If all is well, then after clicking on the “Ok” button, the control panel should appear and the status of the Internet connection should be as follows: “Connected. Access to the Internet” (green). If you configured via wi-fi, you need to reconnect to the network with a new name and password.

If the router failed to connect to the Internet, you should check the parameters and change them if necessary. This can be done in the “Internet Settings” section. If you do not know what to choose there and what parameters to specify, you can clarify this information with your provider.
You can change (clone the MAC address) in the “Management” section. Some providers make binding by MAC-address. And without this procedure, the Internet through the router will not work.
The same with Wi-Fi network settings. They can be changed in the “Wireless Network Settings” section.
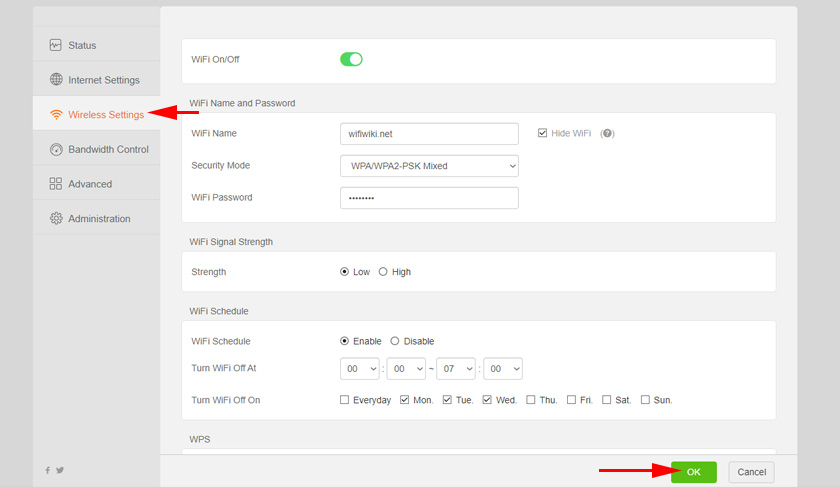
Don’t forget to press the “Ok” button to save the settings.
Tenda router account password
If the Internet through the router is already working, Wi-Fi network you have configured, then I advise you to still protect the control panel with a password.
Go to the “Management” section. Think up and set a password. Click the “Ok” button.
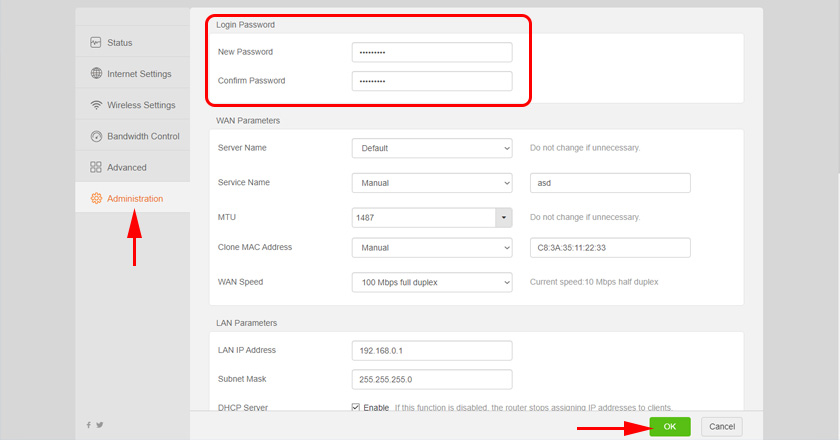
Now, when you try to enter the settings, you will have to enter the set password.
Try not to forget it. If you forget it, reset the settings.
Don’t forget to leave your feedback about Tenda F9 in the comments. Share useful tips, and of course, ask questions.
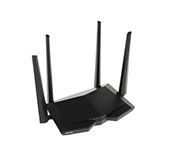 Tenda Ac6 Review-Wi-Fi Router for a Large Apartment Support 5 GHZ
 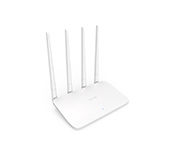 Tenda F6 - Review and Setting Up Wireless Router
 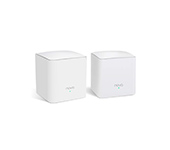 Tenda Nova MW5S-Review and Setting Mesh Wi-Fi System
  Fast Settings of the Tenda Ac9 Router (AC1200)