
Who sods Windows 10 Automatically Not Connect to Wi-Fi?

Connecting to Wi-Fi in Windows 10 usually doesn’t cause any issues at all. Everything is simple and always on (well, if there are no problems with the drivers). But there are cases when Windows 10 does not want to automatically connect to a wireless network. It turns out that we connected to Wi-Fi, specified the password, and after turning on the laptop again, you need to manually establish a connection again. And if we are talking about a home wireless network, it is not very convenient to connect manually every time.
I’ve already written about how to connect my Windows 10 laptop to wi-fi, and when you connect to a wireless network for the first time, the Connect automatically checkbox is already checked. Unless of course you have unchecked it. This should be checked. It is enough to pay attention to the connection window, when you will once again establish a connection. Or, you can disconnect from the network we need:
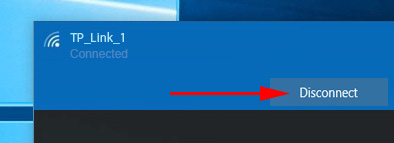
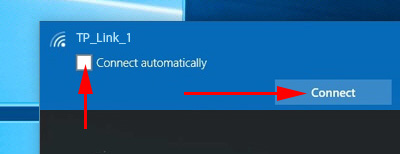
And then reconnect. Be sure to check the box next to Connect automatically.
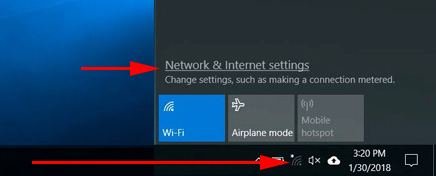
If this method doesn’t work, you can also try “Forget Network”.
Click on the Internet connection icon, and select Network Settings.
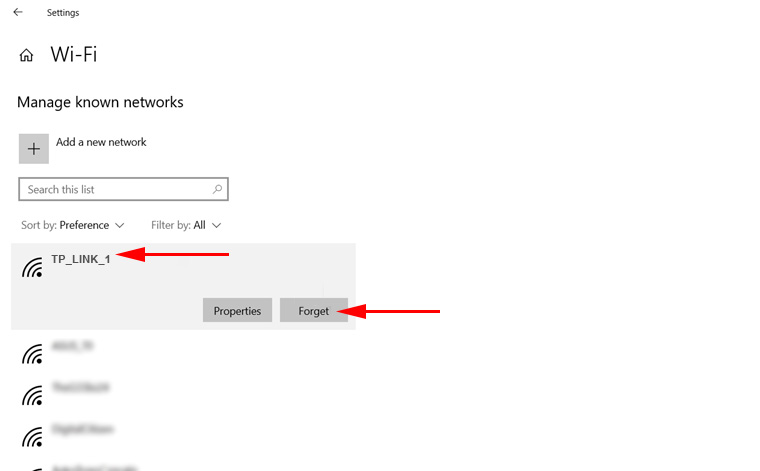
In the new window, click on Manage wi-fi network settings.
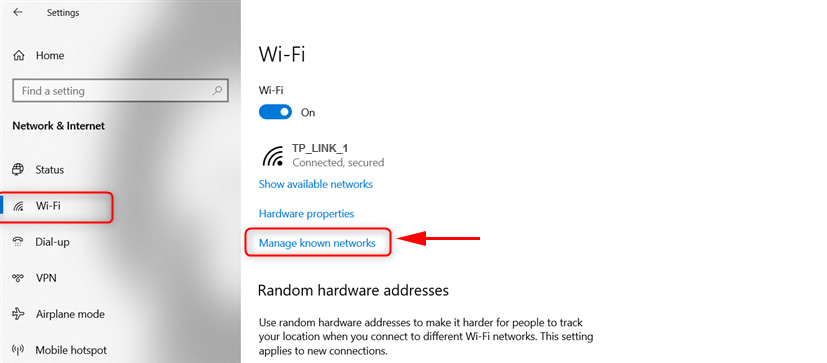
Select the network you want, and click on the “Forget” button.
Well and connect to your network, and during the connection process check that the checkbox Connect automatically. Maybe there are some other solutions, or secrets, but I do not know about them yet. If there is new information on this problem, I will add it to the article.
 Windows Failed to Automatically Detect the Parameters of the Proxy of this Network
  What Driver is Needed to work wi-fi on a laptop?
  The Internet sores not work on a Network Cable from Wi-Fi Router
  The Browser Does Not Open the Pages, and the IS of the Internet and Skype Works