
How to Delete Wi-Fi Network on Windows 7? Solving the Problem with The Connection to Wi-Fi After Changing Password

I often get questions about how to delete a Wi-Fi network on a Windows 7 computer. In this article I will try to answer this question in detail, and show you how to delete information about the desired Wi-Fi network in the wireless network settings.
Let’s first try to understand why this is necessary at all. In fact, by simply deleting the wireless network on your laptop or desktop computer, you can solve a lot of problems with connecting to a Wi-Fi network on Windows 7. And the main problem is when you change the password to wi-fi, or the name of the network in the router settings, and then the laptop does not want to connect to wi-fi. The error “Windows failed to connect to…”, or “The network parameters saved on this computer do not meet the requirements of this network” appears. I will prepare separate articles about these errors, but I can say that they are usually solved by deleting the network and reconnecting.
When you connect your computer to wi-fi, it remembers the network settings (name, password, etc.). After changing these parameters, it can no longer establish a connection with the router. So, you just need to delete the network information and reconnect. In Windows 8, this is even called “Forget Network”.
Removing the wireless network may still come in handy if you don’t want your computer to automatically connect to any wireless networks.
Uninstalling a wireless network in Windows 7
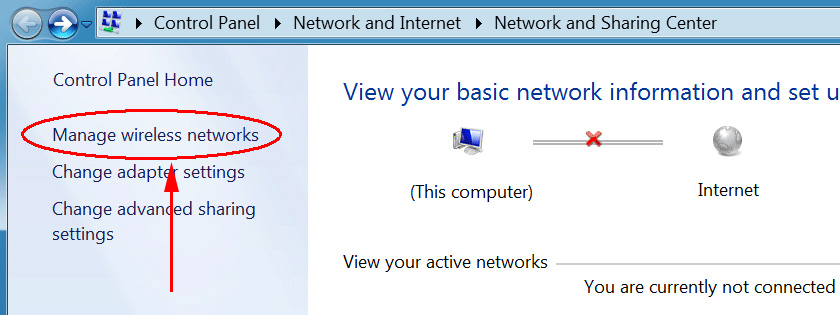
Click on the Internet connection status icon in the taskbar and select Network and Sharing Center.

Next, on the left, click on Manage Wireless Networks.
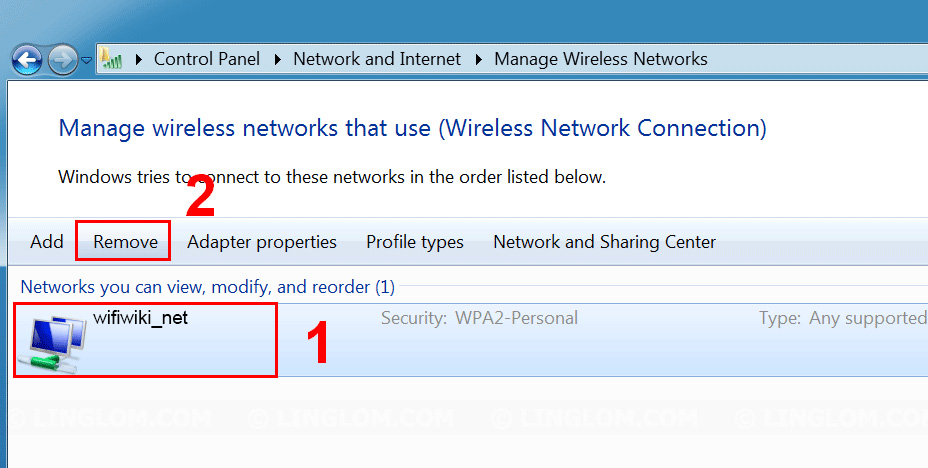
This will open a list of all the Wi-Fi networks you have ever connected your computer to. Find the network you want to delete in the list, right-click on it and select Delete Network.
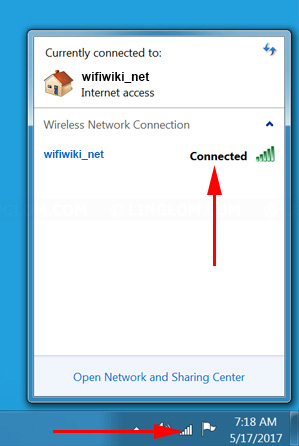
After deleting the network, open the list of available networks and reconnect.
After these steps, your wireless network connection problems should go away. I plan to write more detailed articles for Windows 8, and mobile devices.
 DNS Server Doges Not Anteswer in Windows 10, 8, 7. What to do and How to Fix it?
  Error In Resolving General Access to the Internet
  Not Connected: There Are Available Conneptions in Windows 10 and Windows 8
  Wireless Communication is Disabled - Not Fixed. How to Turn it on?