
Windows IP Addresses have Been Discovered. What to do?

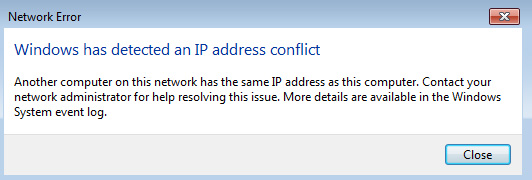
There are a lot of different errors you can see in Windows. And today I’m going to talk about solving the “Windows IP address conflict detected” error that you can often see when connecting to the Internet. Including through a router. In Windows 10, Windows 8 and Windows 7, in the error window you can read a simple and clear description: “There is already a computer with the same IP address on this network”.
And here is the error window itself:
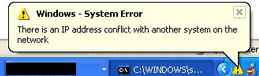
And the error is in good old Windows XP:
This error most often appears when connecting to a router (to a local network). At home, or somewhere at work. The appearance of the error means that your computer is trying to get an IP address that is already occupied by another device on the network. This is why there is an IP address conflict. The error is actually rare, because by default the router automatically distributes IP addresses. And there can be no conflict. But, even if the router distributes IP automatically (the DHCP server is responsible for this), and for some reason you have written a static IP address on your computer, which is already occupied by another device, the error “Windows IP address conflict detected” will appear.
And a few tips before you go to the settings:
- First, you should simply reboot the router and the computer.
- If the Internet is connected directly to the computer (without a router), you can try unplugging the network cable and plug it back in. If this doesn’t help, contact your ISP support. Most likely the IP address conflict is their fault.
- In the “Network Adapters” window, you can try disabling the “Network Connection” adapter. In Windows 10, it is called “Ethernet”. And turn it back on.
If all this does not help, you need to check the IP settings for the network adapter. There are two options there: put out automatic address acquisition, and if this does not help, then prescribe static addresses.
How to fix the IP address conflict error in Windows 10, 8, 7, XP
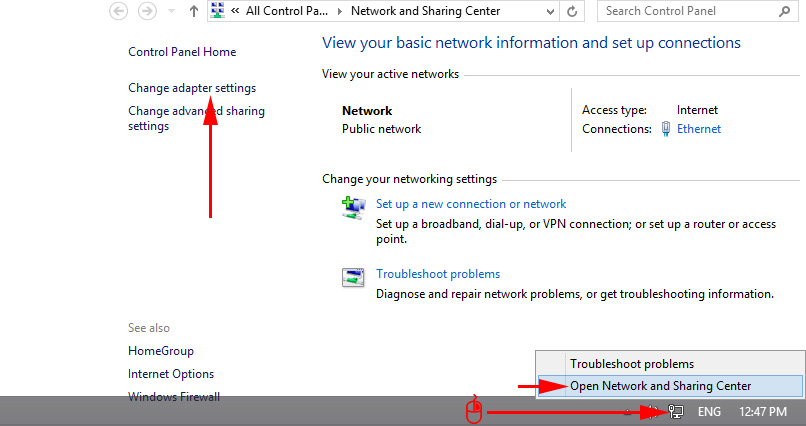
Go to “Network and Sharing Center” and go to “Change adapter adapters”.
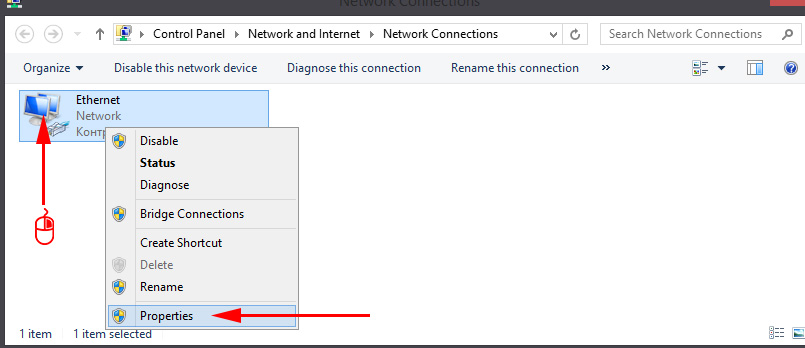
Next, right click on the “Network Connection”, or “Ethernet” adapter and open “Properties”.
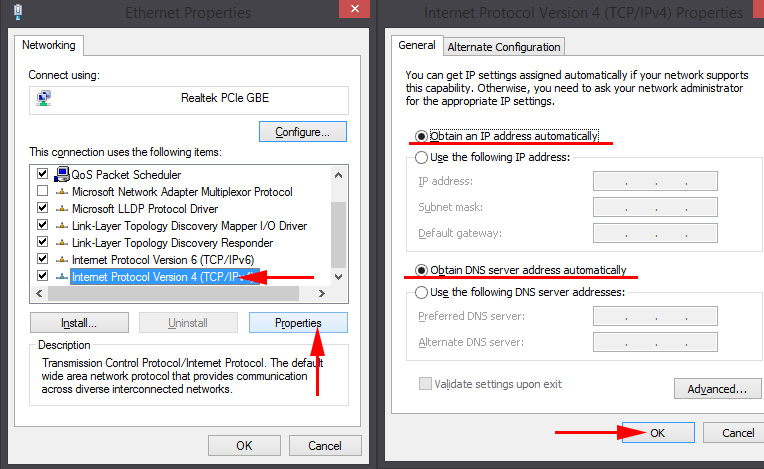
Click on “IP version 4 (TCP/IPv4)”, then click on “Properties”. If you have any settings checked there, then set it to automatically get IP and DNS. That’s it:
Restart your computer. If after that the Internet did not work, or you had initially set automatic reception there, then you can try to set the necessary parameters manually.
Static IP addresses: as an option to solve the conflict
Personally, I am against static IP addresses. It is better to set automatic acquisition on all devices. Otherwise, sooner or later, the error will pop up again. But if you need to solve this problem urgently, the option with static addresses may come in handy.
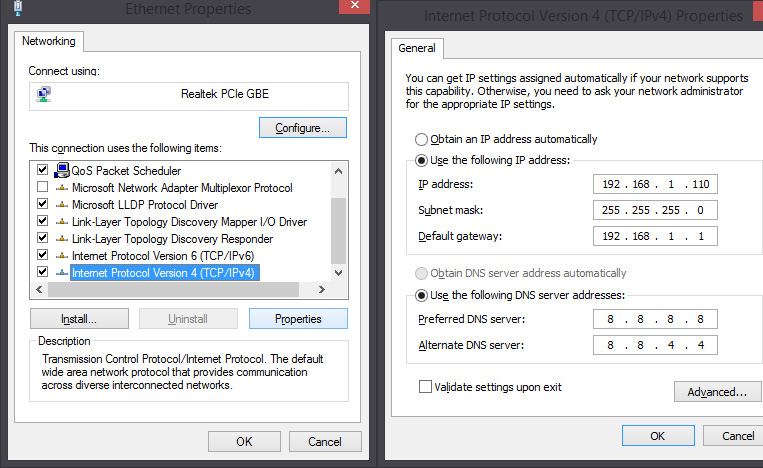
Open the settings as I have shown above. Only instead of automatic settings we put a switch next to “Use the following IP address”. And then we need to specify the IP-address, subnet mask and default gateway.
- IP address – here we need to specify the address that our computer will get from the router. First we need to know the IP address of the router. Most likely, it is 192.168.1.1, or 192.168.0.1. Then, change the last digit. It is desirable to write above 100. For example: if my router has an IP address of 192.168.1.1, then I would write 192.168.1.110.
- Subnet mask – it will be written automatically.
- Default gateway – IP address of the router. In my case it is 192.168.1.1.
- DNS-addresses you can write: 8.8.8.8.8 / 8.8.4.4.
There you go:
I think these actions helped you to get rid of the error, and the Internet on your computer did work. Write in the comments, ask questions!
 AFTER ReinStalling Windows 7, The Internet Dees Not Work (Wi-Fi)
  The Problem of the Adapter of Wireless Networks Or Access Points. How to Eliminate an error?
  The Internet Works, and the Browser Does Not Load Pages. Doesn`t go to sites
  Wi-Fi IS Unstable. Who sons the Internet Break Through a wi-fi router?