
TP-Link TL-WN722N: Driver, Setting, Access Point Wi-Fi
This page is fully dedicated to TP-Link TL-WN722N Wi-Fi adapter. A very popular model, which has been successfully sold for a long time. It is an excellent adapter for connecting to the Wi-Fi network of desktop computers or laptops. There is an external antenna, which is undoubtedly a big plus. Thanks to her adapter better catches the Wi-Fi signal. Also from the pluses I would highlight the simple setup. There are no problems with drivers (well, almost none). Stably works in Windows 10, Windows 8, Windows 7, and Windows XP. There are problems when the computer doesn’t see the adapter, or TL-WN722N doesn’t see the Wi-Fi network. But this is usually easy to solve and usually happens because of the operating system settings. Well, or due to the user’s fault and inexperience. In this article we will consider the most popular problems.
At the time of writing this article, I’ve been using TP-Link TL-WN722N V 1.0 Wi-Fi adapter for a few weeks now. I have a laptop, used to connect through the built-in Wi-Fi module. But I had to move the laptop further away and put it on a shelf under the table. And Wi-Fi began to catch very badly (1-2 divisions). I had to connect this adapter through a small USB extension cord. On Windows 10 I didn’t set up anything at all, just plugged it in and the system installed the drivers by itself. However, in the Device Manager I have it displayed as “Atheros AR9271 Wireless Network Adapter”. But everything works fine.
There are two hardware versions of the TP-Link TL-WN722N adapter (the official site has V3, but the driver there is MAC-only, as of this writing). Hardware version V1 runs on Atheros AR9271 chipset, and V2 runs on REALTEK RTL8188EUS. The official website has drivers for Windows, MAC and Linux. Characteristics will not describe, you can see them on any site. Wi-Fi network speed is up to 150 Mbps.
One more important point. Through TL-WN722N adapter you can not only connect to wireless networks, but also distribute Internet via Wi-Fi network. It can work as an access point (SoftAP). You can configure the distribution both by means of Windows and through the proprietary utility. Below I’ll write about it in more detail and give the necessary links.
Installing the driver for TP-Link TL-WN722N
The whole process of configuring almost any Wi-Fi adapter comes down to installing drivers. Of course, first you need to connect the adapter itself to your computer or laptop.
Simply plug it into a USB port.
For the second hardware version (ver. 2) driver is available for all versions of Windows, including Windows 10. For the first hardware version (ver. 1) there are no drivers for TL-WN722N for Windows 10. But, as I wrote above, everything worked automatically for me. They also write on the Internet that drivers from Windows 8.1 or from a disk are suitable.
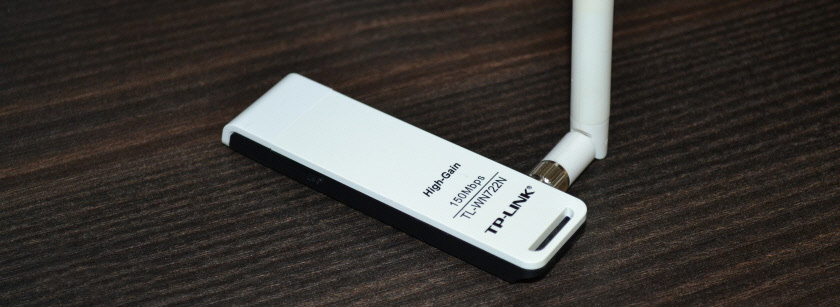
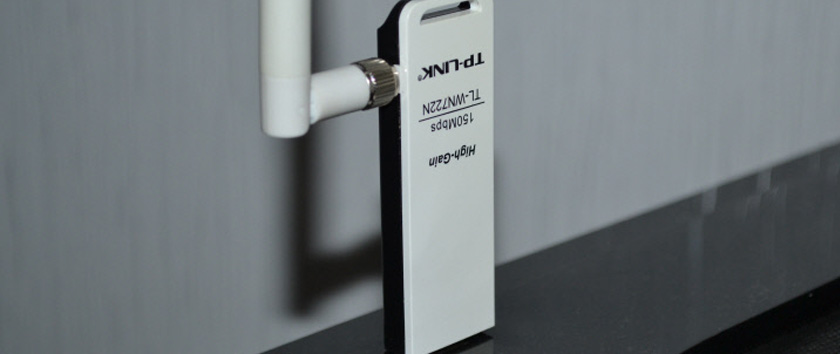
Tip: to find out the hardware version of your adapter, look at the sticker on the adapter itself.

If the hardware version is not indicated there, it is V1.
The kit comes with a disk with drivers and utility. You can install everything from there. Just run the disk and follow the instructions.
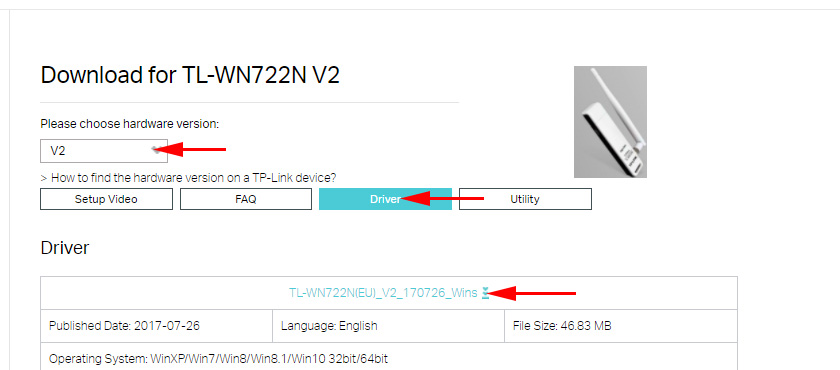
To download the driver, go to https://www.tp-link.com/en/support/download/tl-wn722n/v3/, select your hardware version, click on the “Driver” tab and download the first Windows file in the list.
Installation:
- For the V2 hardware version, the driver comes as an .exe file. Simply run the Setup.exe file and install.
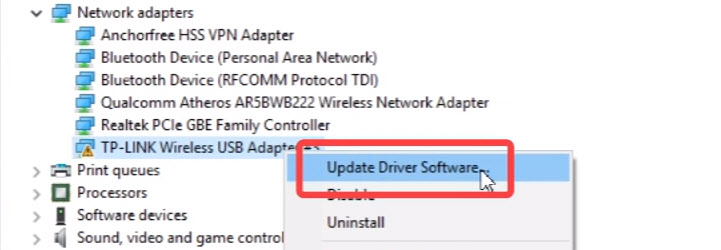
- For V1, the archive contains folders with files for different versions of Windows. In this case, you need to go to the Device Manager, to the “Network Adapters” tab, right-click on the adapter and select “Update Driver”.
 Then select “Search for drivers on this computer”.
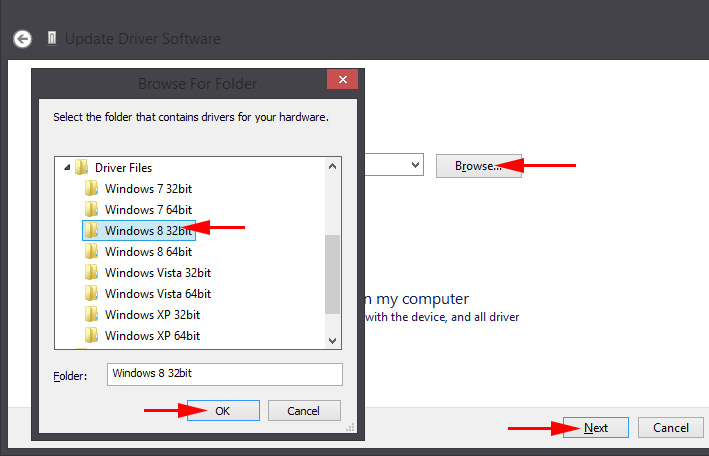
 Specify the folder with the driver for our version of Windows and click “Next”.
 Everything should be installed and TP-Link TL-WN722N will start working.
Windows 10 and adapter hardware version V1
If everything didn’t install automatically, you can try installing the driver from the disk, or from Windows 8.1. It goes like this:
- Download the archive with the drivers for the V1 version.
- Extract the folders from the archive.
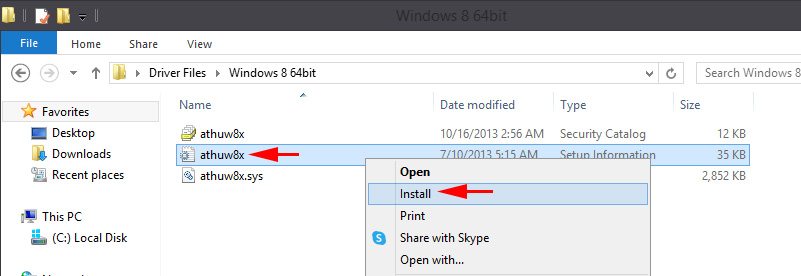
- Go to the “Windows 8.1 64bit” (or 32bit) folder, right-click on the athuwbx.inf file, and select “Install”.
 You may need to restart your computer afterwards.
Or use the method described above.
Possible problems and solutions
Let’s consider the most popular problems that users face most often.
- The computer does not see TP-Link TL-WN722N. If you plugged the adapter into the computer’s USB port and Wi-Fi didn’t appear, then most likely you just need to install drivers. I wrote about it above. Go to Device Manager and check it. If your computer doesn’t react to plugging in the adapter at all, nothing appears in Device Manager, then try plugging it into a different USB port. Do not use a USB extension cable. Check it on another computer or laptop.
- If TL-WN722N does not see Wi-Fi network. There are no connections available. The most popular problem. Everything seems to work, but the list of available wireless networks is not displayed. But other devices see available networks. Most often, it happens because of disabled WLAN auto-configuration service in Windows. You need to check and if it is disabled, then start it.
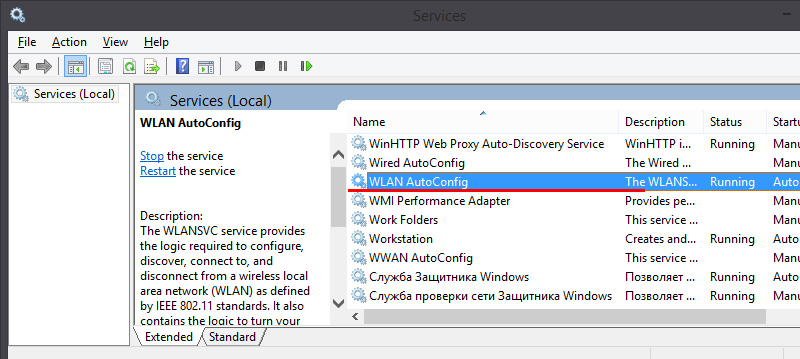 In the article WLAN Autotuning Service. What it is and how to enable it in Window I wrote about it in more detail. Also, make sure there is a wireless signal where the adapter is installed. Check if the antenna is well screwed on.
 - Low speed, connection drops. The first thing to do is to disable the Wi-Fi adapter to save power. How to do it – wrote here. Reinstall the driver. Try to install from a disk. If you have Windows 10, then try the solutions from the article: disconnects Wi-Fi in Windows 10.
If you encounter any other problems, then write about them in the comments. Especially if you know the solutions 🙂
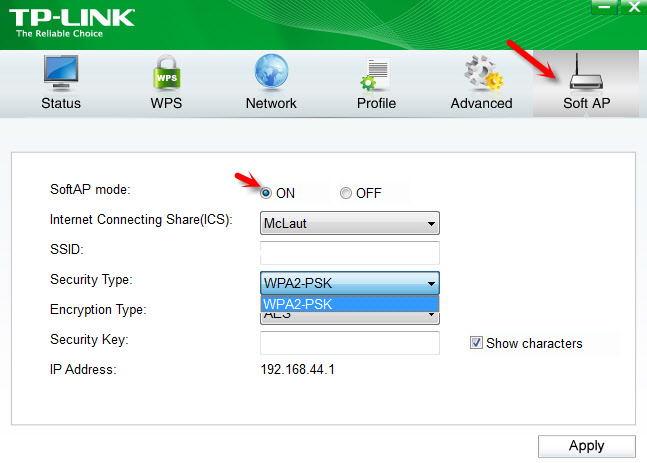
TL-WN722N as an access point (giving out wi-fi)
Through the TP-Link TL-WN722N adapter, you can give out wi-fi from your computer, sharing internet access with other devices. You can set up the access point via TP-Link’s proprietary utility. It is enough to enable the “SoftAP” mode and set the necessary parameters (network name, password).
 How to Connect and Configure a Wi-Fi Router TP-Link Archer C2300?
  How to Complete a Full Reset on the TP-Link Router? Restore Factory Settings
 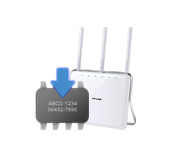 Router Firmware TP-Link Archer C8
  Router TP-Link TL-WR940N (V3): Review and Reviews