
Fast Settings of the Tenda Ac9 Router (AC1200)
In most cases, there are no problems at all in the process of setting up routers from Tenda. All thanks to the simple control panel that is installed on these routers and the clear instructions that come with them. So you could prepare one instruction rather than writing a separate one for each model.
But I’m sure that it’s much easier to do the configuration using the manual that is written on the example of a particular router. And these instructions are also useful because users can always leave a question about this or that model. Ask something in the comments, clarify, etc. And there is no need to get confused about different models, software versions, buttons, ports. It is for this reason, I decided to write an instruction on how to configure the router Tenda AC9.
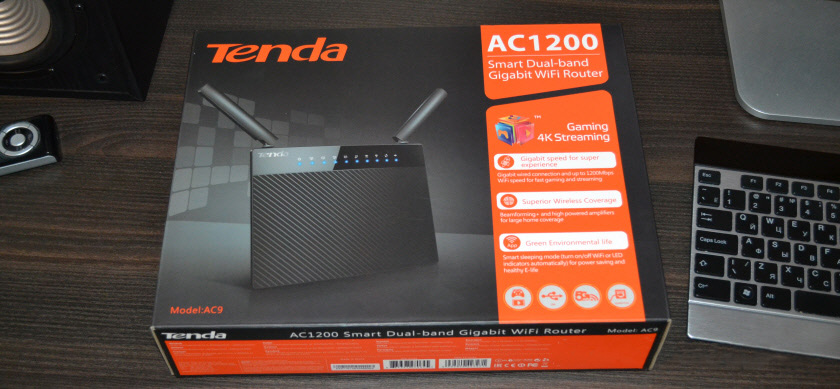
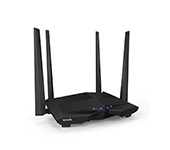
This is a dual-band Wi-Fi router from Tenda with gigabit ports, powerful stuffing and at a good price. You can read more in the article: Tenda AC9 – review of a powerful and inexpensive Wi-Fi router for home.
I will be setting up a new router. Which is on factory settings. So, if you have already eaten to customize your Tenda AC9, or you have something will not go according to the instructions, then do a factory reset first. Turn on the router, press the Reset button with something sharp and hold it for 10 seconds.

You can look at the indicators. When they all go out and light up, you can release the button.
Next you need to connect everything and you can proceed to setup.
Preparing for setup
There are three steps here:
- Connect power to the Tenda AC9 (so that the indicators light up).
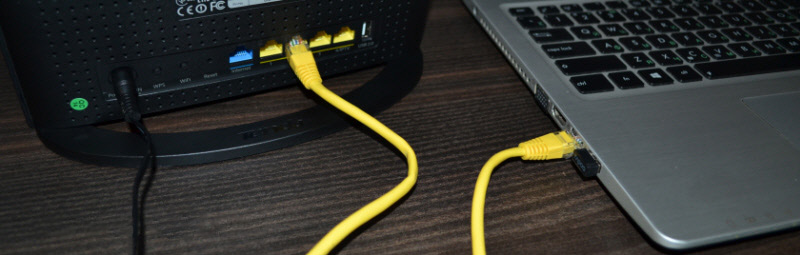
- Next, we need to connect our device (from which we will configure) to the router. You can connect either with a LAN cable (included in the kit) or via wi-fi. With the cable everything is simple. One end to the router, the second to the computer or laptop.
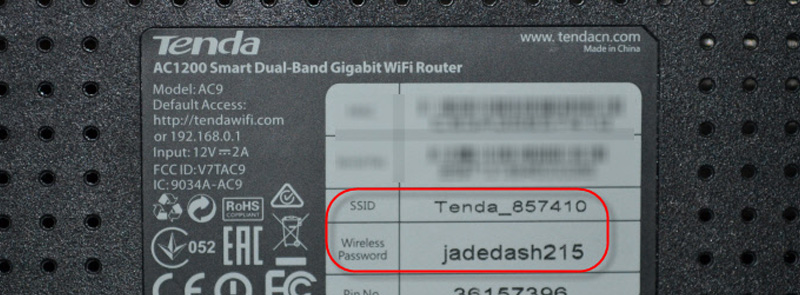
 Or to a Wi-Fi network. The factory network name and password (as well as the address for entering the settings, MAC-address and other information) are indicated on the sticker:
 Immediately after connecting to wi-fi, or via cable, the Internet may not work. This is normal.
 - Plug the Internet into the WAN port “Internet” (it’s blue).
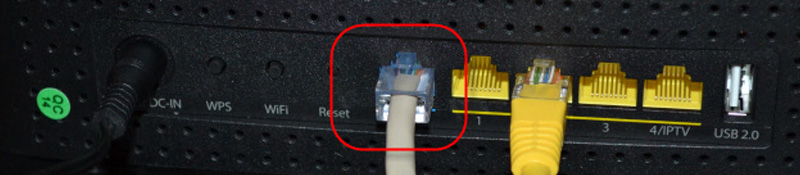 Cable from your ISP, or modem.
I think you have everything plugged in and connected to the router. Moving on.
Configuring Tenda AC9
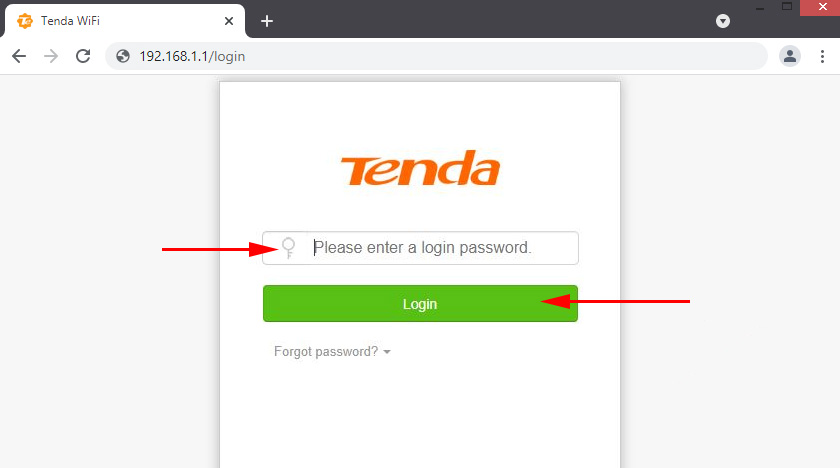
To open the web-interface (page with router settings) you need to go to 192.168.0.1 or tendawi-fi.com in any browser. I wrote in detail in the instructions how to enter the settings of the router Tenda.
A quick setup wizard should open. Change the language and click “Start”. If the page with the settings of the router does not open, then look at the tips in this article.

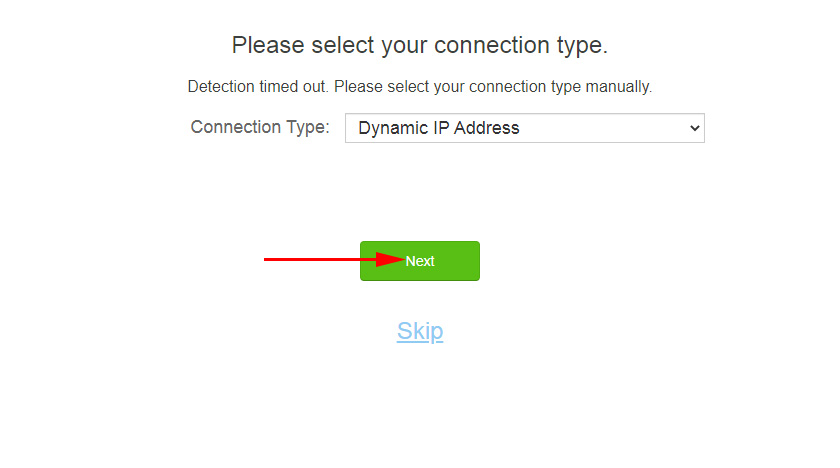
The first step is to set the parameters for connecting to the Internet. These are the most important settings. If something is set incorrectly, then the Internet through the router will not work. Connection to the Wi-Fi network will be, but without access to the Internet.
If you have, for example, “Dynamic IP”, then just continue the configuration. If there is a binding by MAC-address, then it can be cloned from the computer to which the Internet is bound (and the router is connected by cable), or you can write the address manually. You can also change the MAC-address from your provider to the router’s address (indicated on the sticker).
If the connection type is PPPoE, you will need to specify the user name and password. And for L2TP, PPTP also the server address.
Check everything and click “Next”.
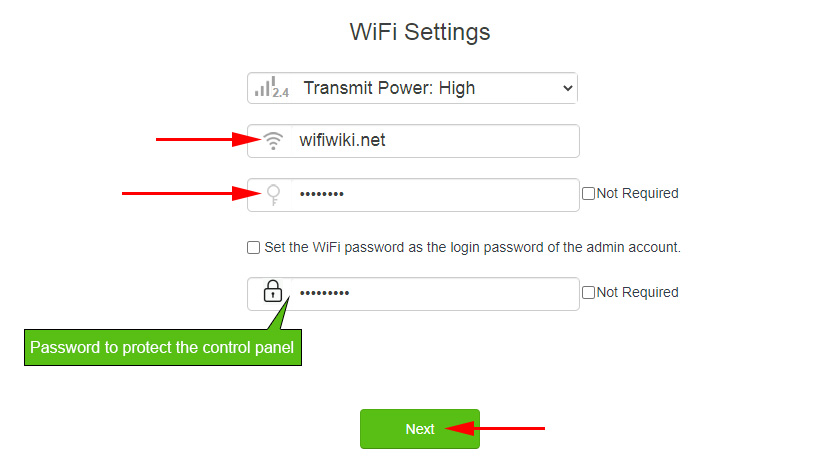
Next we have Wi-Fi network configuration. You can change the transmitter power (honestly, I don’t know if it affects the coverage), then you need to set the name of the Wi-Fi network and the password for wi-fi. Also in the lowest field, think up and write down the password that you will need to enter when you enter the router settings. I do not recommend to set the same as on wi-fi. Write down the passwords so that you don’t forget them.
Since we have a dual-band router, the network at 5 GHz will be named “network_5G”. The password is the same.
A window like this should appear:
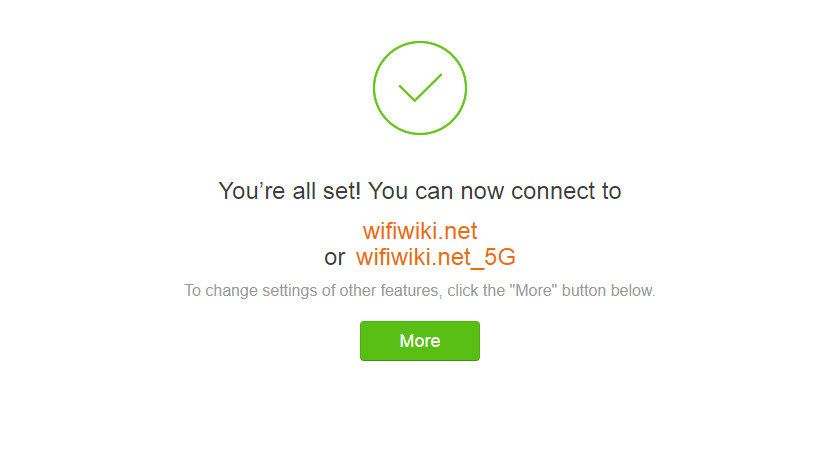
If you click on “Advanced”, or go to 192.168.0.1 again, you should already have to specify the password (not from wi-fi, but from the settings).
The control panel with all the settings will open. Where you can, for example, change the name of the Wi-Fi network, password, disable the network at an unnecessary frequency. On 2.4 GHz, or 5 GHz. All this is in the “wi-fi settings” section.
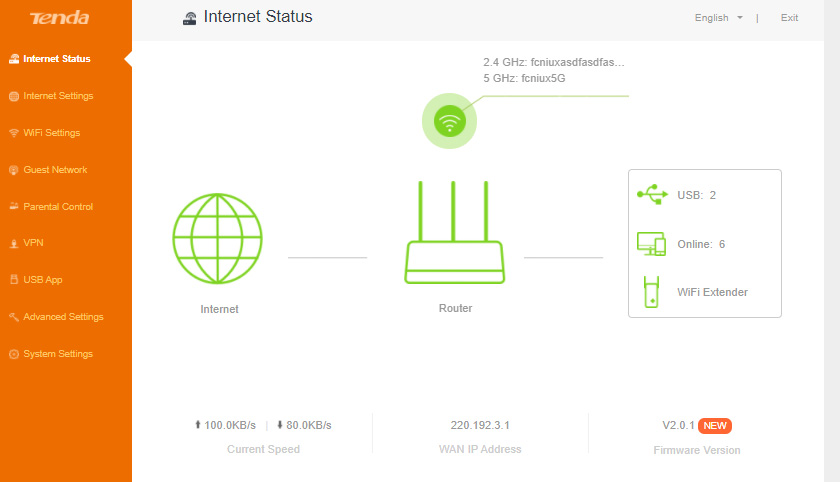
Everything is very simple and clear there. I don’t see the point in going through all the settings in detail. If anything, ask in the comments.
And leave your feedback. What do you think of Tenda AC9?
 Review of the Gigabit Router Tenda AC10U (AC1200)
 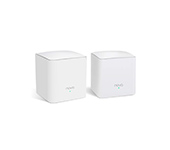 Tenda Nova MW5S-Review and Setting Mesh Wi-Fi System
  Tenda AC6 Settings: Internet, Wi-Fi, IPTV, Firmware
  How to Change the Password on the Wi-Fi Router Tenda?