
How to Connect and Configure a Wi-Fi Router TP-Link Archer C2300?
If you have bought such an advanced router as TP-Link Archer C2300, it is unlikely that you need all these instructions, tips and so on. Most likely, you yourself are well versed in configuring such equipment, and without problems can connect and configure it. But this is not certain. That’s why I decided to write my own small instruction on how to configure this router. As usual, I will show everything on photos and screenshots. Perhaps you haven’t bought a router yet and came to this page as a rumor. In that case I recommend reading the review of TP-Link Archer C2300 router.
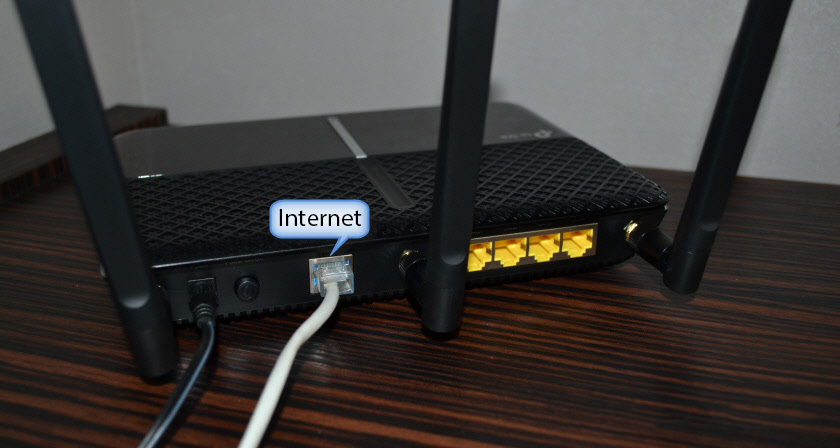
Connecting the router is very easy. I always start by plugging in the power adapter and turning on the router. You need to plug the power adapter into an outlet and turn on the power with the Power On/Off button (if it’s off). Next we need to connect our TP-Link Archer C2300 to the internet. To do this, connect the network cable (which is laid in the house from the provider) to the Internet (WAN) port on the router. Perhaps, in your case you need to connect the Internet from a modem or from another router – it doesn’t matter.
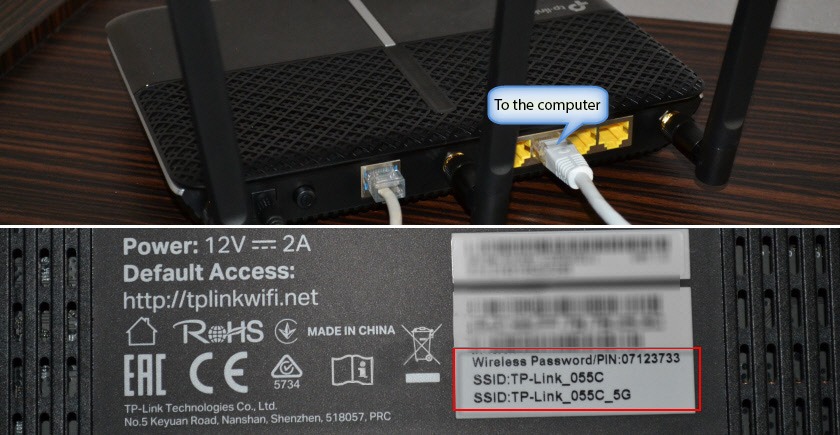
To get into the router settings, we need to connect some device to the router. I recommend using a PC or a laptop. If you don’t have them – a phone or tablet will do. You can connect to the router with a network cable or via wi-fi. The factory network name and password are on the sticker at the bottom.
After we have connected to TP-Link Archer C2300, we can open its web-interface (page with settings) via a browser. Even if the status of connection via Wi-Fi or cable is “without Internet access”. And the “Internet” indicator on the router is lit in orange color. This is because the router is not yet configured.
Archer C2300 setup process
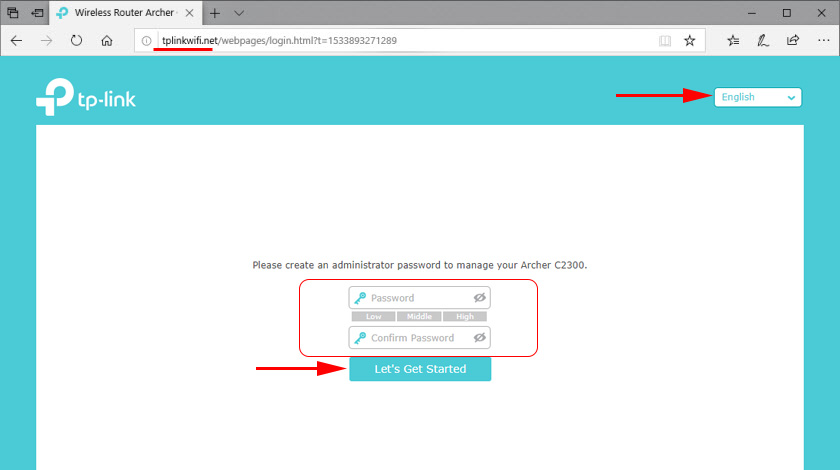
On the device connected to the router, you should go to the address tplinkwi-fi.net or 192.168.0.1 in the browser. I’ve talked about it in more detail in this article. In the case of Archer C2300, it will immediately ask us to set the router administrator password. This password should be written down and/or memorized somewhere. You will have to enter it every time you need to access the router settings.
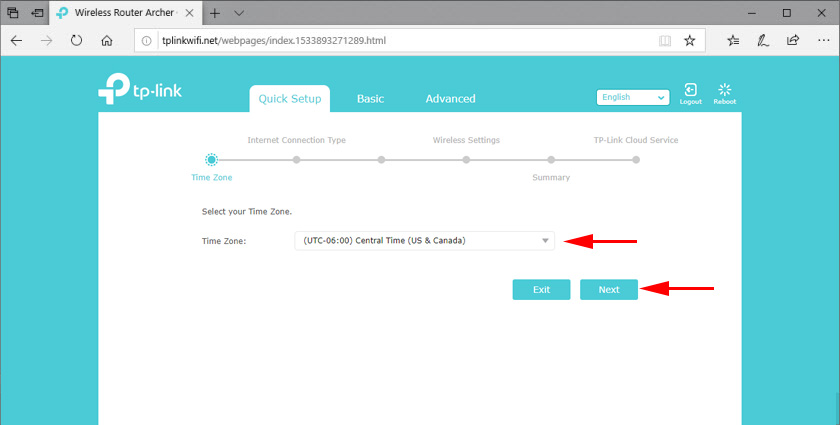
The Quick Setup wizard will open, where you need to select your region at the first stage.
Next, you need to select the type of Internet connection. These are very important settings. If you do not know what type of connection your Internet provider uses – it will be very difficult to configure the router. You need to check this information with your ISP. If “Dynamic IP-address”, just leave a check mark next to this item and click “Next”.
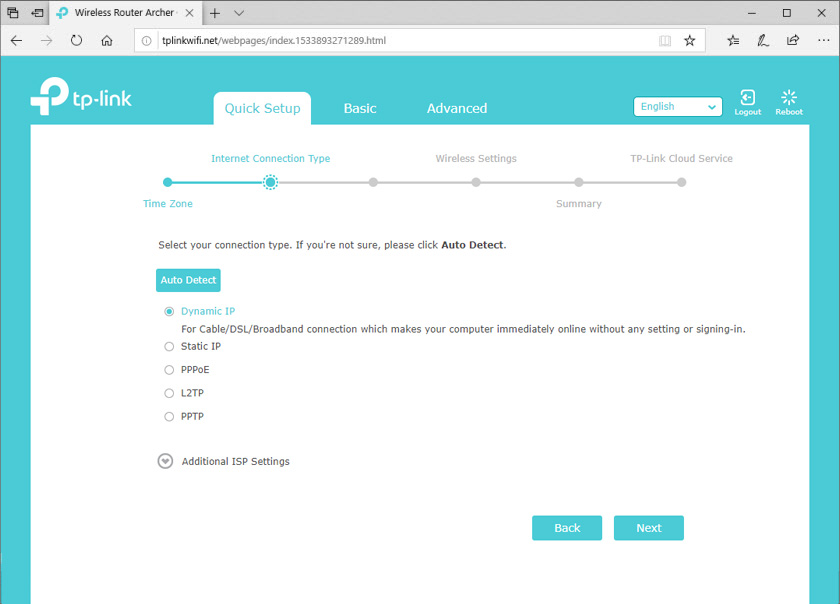
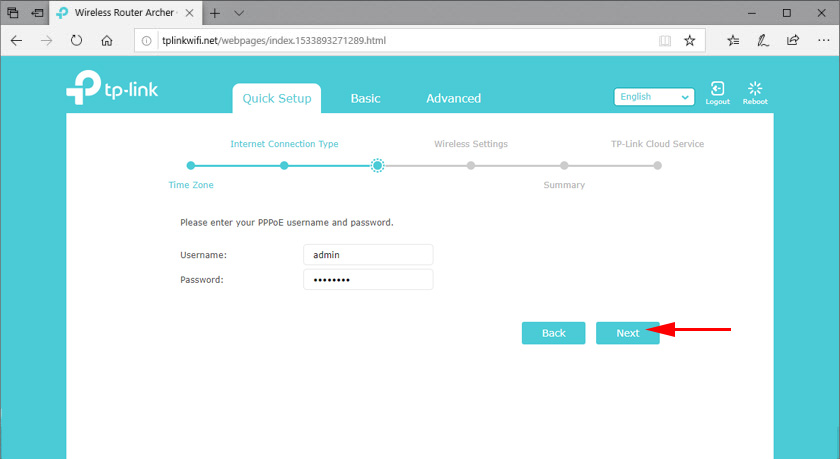
If PPPoE, PPTP, L2TP – you will need to specify the user name and password (and for PPTP and L2TP also the server address). These data are provided by the Internet provider.
You can also use the “Auto-detect” button to automatically determine the type of connection.
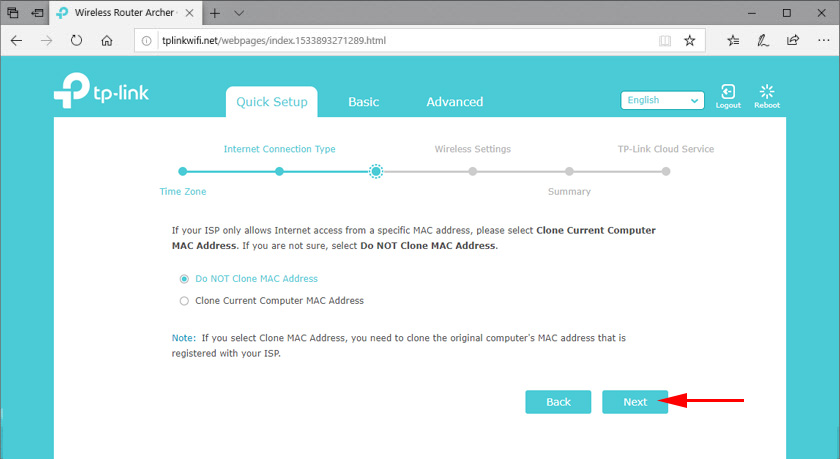
In case you select “Dynamic IP-address”, the router will ask you whether to clone the MAC-address or not. You only need to clone it if your ISP does MAC binding and if you are connected via cable to a computer to which the Internet is bound.
After setting up the Internet connection, TP-Link Archer C2300 will offer us to configure the Wi-Fi network. You don’t need to change any special settings there. You only need to change the name of the wireless network (SSID). If you want, you can leave the factory name (which is specified by default). But I recommend you to change the password. Note that we set the settings for two Wi-Fi networks. For 2.4 GHz and 5 GHz.
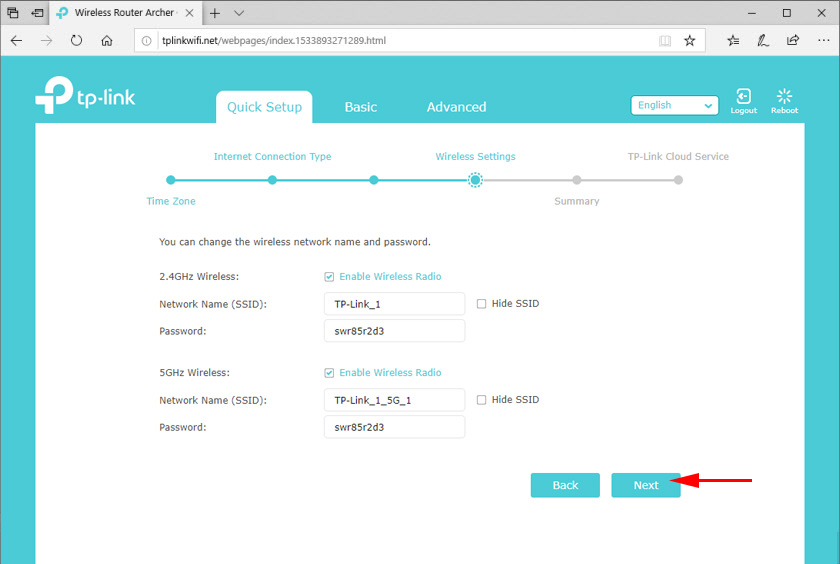
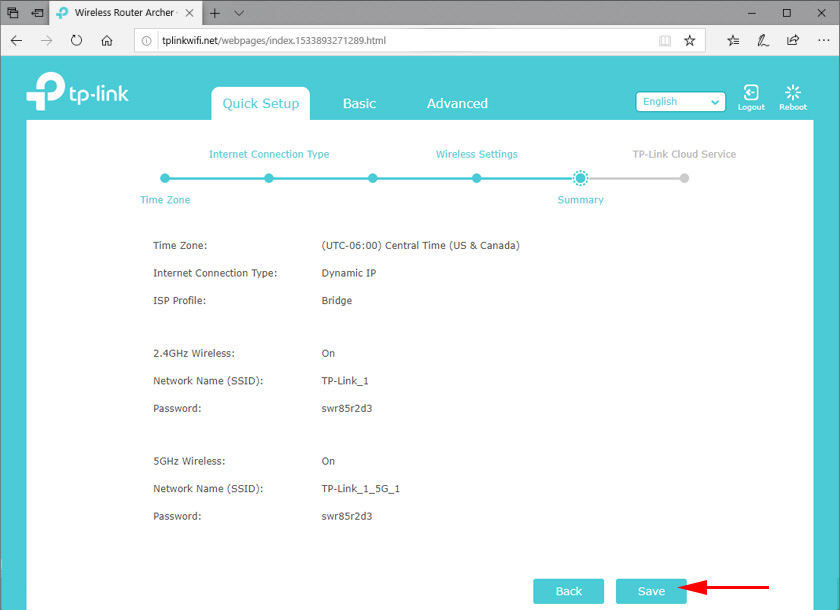
Save the settings.
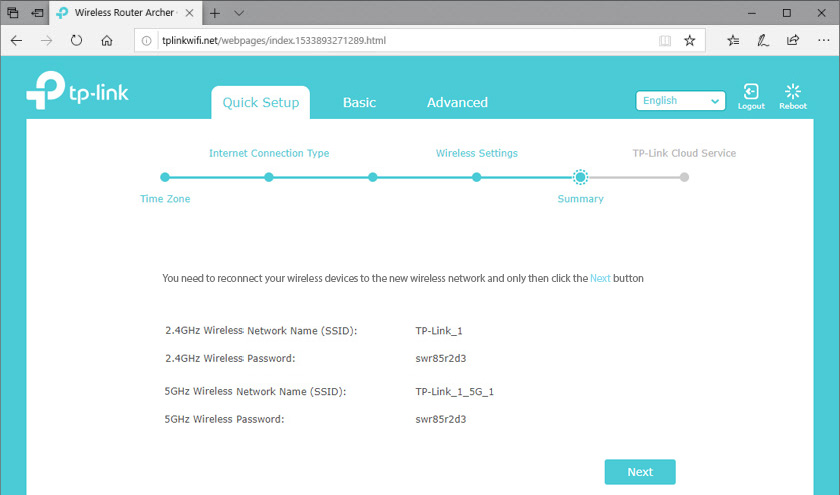
If we connected via wi-fi, we connect our device to the new Wi-Fi network. All information (name, password) will be specified on the page with settings.
Next you will see a window where you can log in, or register and log in under your TP-Link ID account. This is necessary, for example, to remotely control the router via the Tether app. You don’t have to do this, you can just click on “Sign in later” and “Finish”.

The router configuration is complete. And the main page of TP-Link Archer C2300 web-interface will open in your browser.

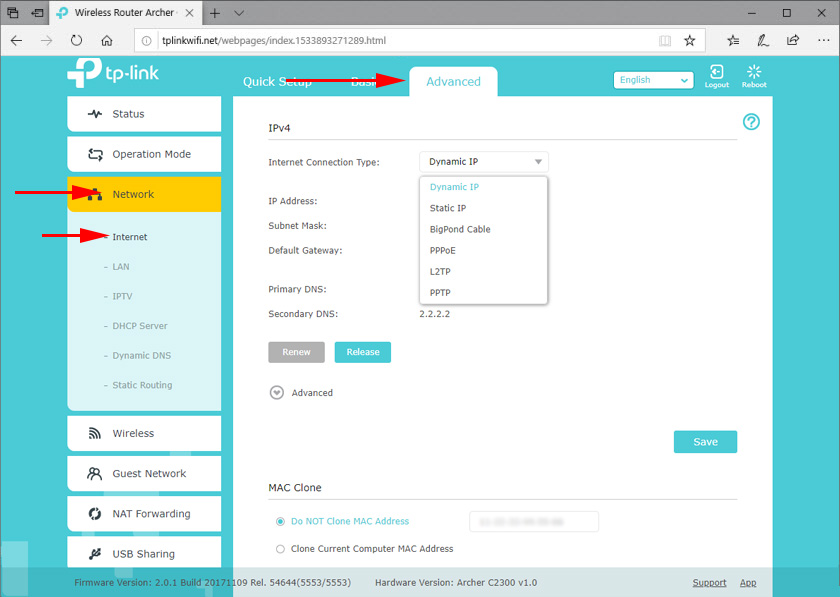
The router is connected to the Internet, the Internet works on the connected devices – everything is normal. But it often happens when after setting up the Internet through the router does not work. There is no access to the Internet on the connected devices. In this case, you need to clarify all the parameters for connection with your Internet provider and check/set them in the “Advanced Settings” – “Network” – “Internet”.
Also on this topic we have a separate article: when configuring the router writes “No Internet access”, or “Limited” and no connection to the Internet.
Wi-Fi settings (name, password) can be changed in “Advanced Settings” – “Wireless Mode” – “Wireless Mode Settings”.
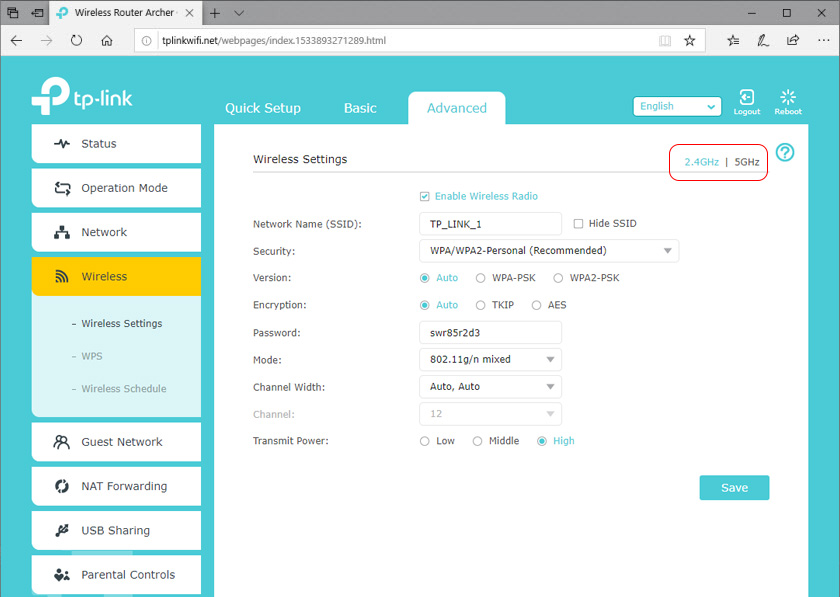
Do not forget that the router is dual-band. Wireless settings for each band (there is a switch for 2.4 GHz and 5 GHz).
If you have questions about setting up some additional features on TP-Link Archer C2300, or do not manage to configure the router, you can leave questions in the comments. Or look for instructions in the TP-Link section and through the site search.
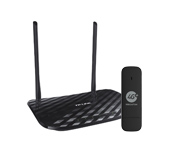 Router TP-Link Archer C2 and 3G/4G USB Modem
 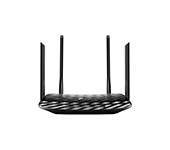 TP-Link Archer a6: Mu-Mimo Router with Gigabit Ports
 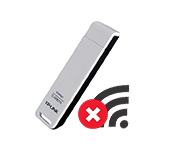 The TP-Link Adapter Does Not See the Network, Does Not Connect To Wi-Fi, The Utility Window Is Inactive. Who sod the adapter work?
  The TP-Link Archer C24 Review is an inexpensive Two-Band Router with Support for the Repiter Mode and Access Points